Food packaging
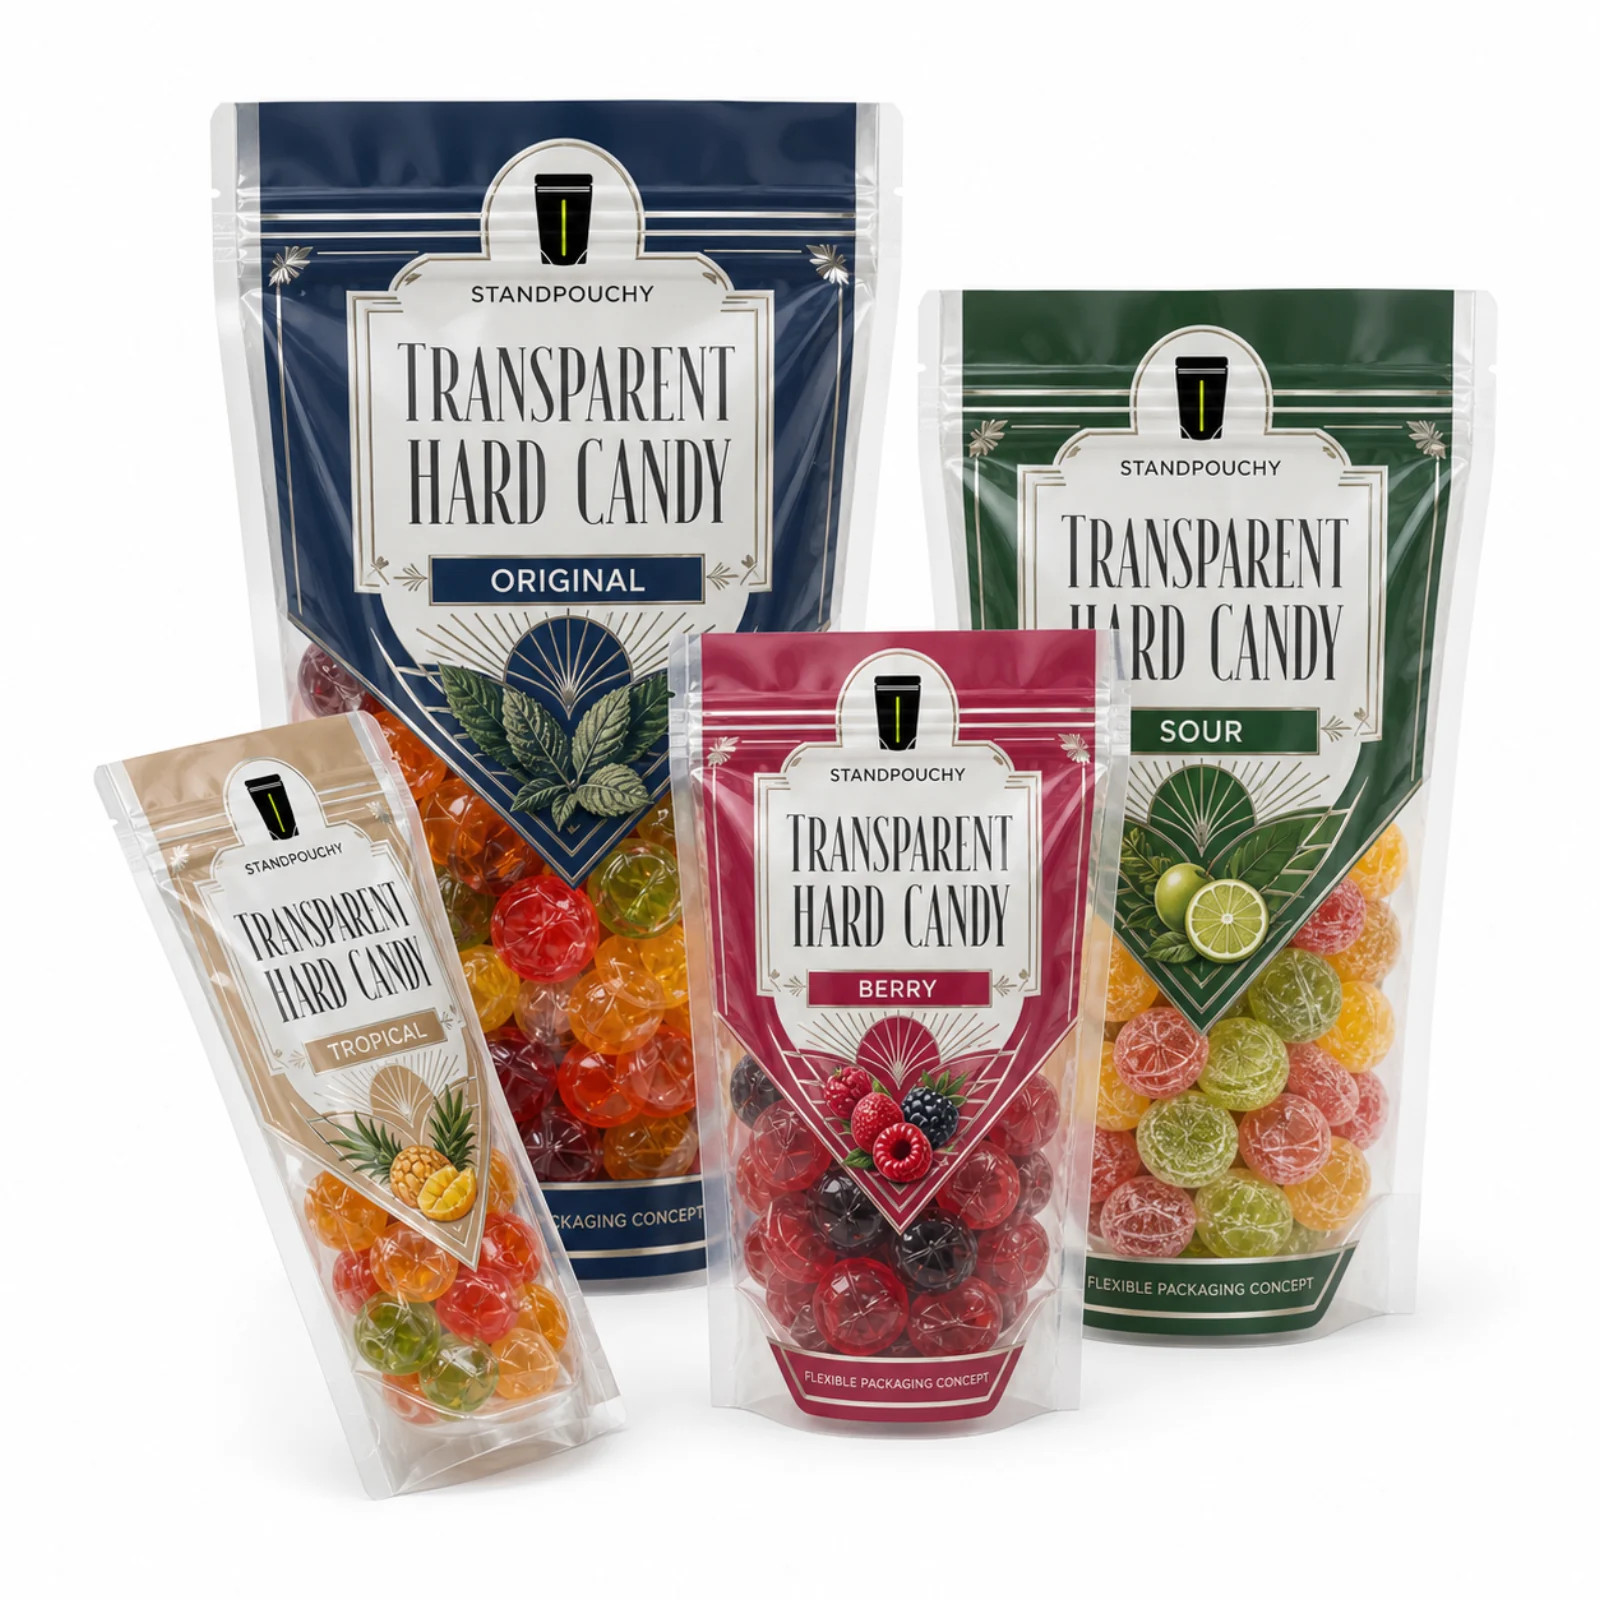
Candy & Confectionery · Custom specification
Transparent Hard Candy Pouch
Custom pouches for individually wrapped hard candy, planned around hard edges, light exposure and dense product load. Review a transparent body with sufficient puncture and seal support before confirming size and materials.
Priority to validate: hard edges. Check it with the actual filled product and intended storage and distribution conditions.
Structure directionPET / PE direction
ClosureResealable zipper
FinishGloss clear
FormatStandard stand-up pouch
Share product, fill weight, quantity, market and artwork status for a focused review.
Direct answer
How should this pouch be specified?
For individually wrapped hard candy, begin with hard edges, light exposure and dense product load. Use standard stand-up pouch geometry, resealable zipper, and PET / PE direction only after the real product and filling process are reviewed. Before approval, test filled drop, puncture, seam stress and artwork readability.
The pouch video library
Explore related pouch samples.
Explore pouch formats, details and samples before building your brief.
Sample references; the pouch shown may differ from your selected specification.
Commercial starting point
MOQ, print, sample and price reference.
Use these figures to decide whether to request a quote. The final offer follows the approved size, structure, finish, quantity per artwork and delivery scope.
- Selected digital MOQ
- From 200 pieces per artwork after route review
- Printing
- Digital for lower quantities; gravure for stable larger runs
- Sample path
- Stock, blank-size, artwork-proof or printed sample as applicable
- Standard pouch price reference
- $0.15-$0.40 / pouch digital at 500-9,999 pcs; $0.08-$0.15 / pouch gravure at 10,000+ pcs, EXW
China factory EXW planning reference for a standard custom stand-up pouch. Digital band: 500-9,999 pieces. Gravure band: 10,000+ pieces. Reviewed July 2026; freight, duties, taxes and destination charges are excluded. This reference does not confirm that the displayed pouch uses the reference construction.
Application fit
Start with the packed product,
then engineer the pouch.
Designed as a specification starting point for individually wrapped hard candy. Send the target fill, quantity, filling method and destination market. Unknown dimensions or materials can be resolved through sample review.
For a project using individually wrapped hard candy, test filled drop, puncture, seam stress and artwork readability. Record the exact specimen, method, conditions, sample count, result and approval revision rather than treating the mockup or a flat-film value as finished-package proof.
Product-specific specification
Decisions for Transparent Hard Candy Pouch.
Compare the product risks, opening and filling requirements before choosing a material or approving the pouch size.
Packaging priorities for individually wrapped hard candy
Transparent Hard Candy Pouch is not specified from fill weight alone. Product geometry, oils or sugars, moisture response, settling and handling determine usable volume and the first likely failure mode. For this SKU, the working brief starts with hard edges, light exposure and dense product load. Record the real product condition and shelf-life target before comparing structures.
Format and opening plan for individually wrapped hard candy
Standard stand-up pouch is the selected visual direction. Front and back faces, side seals and an opening bottom gusset create the standing shape. Check the filled base and usable opening with the actual product. The resealable zipper must stay clear of the final top seal and filled product.
Material direction and visible finish
PET / PE direction is a starting specification, while gloss clear describes the intended appearance. Neither phrase is a complete performance specification. Confirm outside-to-inside layers, grades, thicknesses, inks, adhesive or coating, sealant and evidence. Full clear body needs a transparent area with its own barrier and registration review; opaque foil or metallized layers cannot run unchanged across that area.
Filling, sealing and handling checkpoints
Plan a transparent body with sufficient puncture and seal support. Observe product movement through the hopper, chute or manual fill, where fragments or residue reach the permanent seal, and how the gusset opens. Record final-seal equipment and settings. Filled dimensions, standing behavior, case count and consumer access should be reviewed on the approved pouch revision.
Approval evidence for Transparent Hard Candy Pouch
The approval record should connect artwork, dieline, material revision, feature positions and sample results. Specifically, test filled drop, puncture, seam stress and artwork readability. Keep clean controls and representative challenge samples separate. A passed visual review, film report or supplier statement alone does not establish compatibility, integrity, regulatory status or shelf life for the filled pack.
Material engineering
Common laminate directions.
These structures are specification starting points, not automatic recommendations. The final combination depends on product compatibility, target shelf life, filling conditions and destination-market requirements.

PET / PE direction
A clear printable web and heat-sealant direction where product visibility is useful; confirm the required oxygen, moisture and light protection with the actual snack.
PETPE directionPET / transparent-barrier PE direction
A transparent-barrier candidate for projects that need visibility with additional protection; exact grades, test conditions and conversion effects still require review.
PETtransparent-barrier PE direction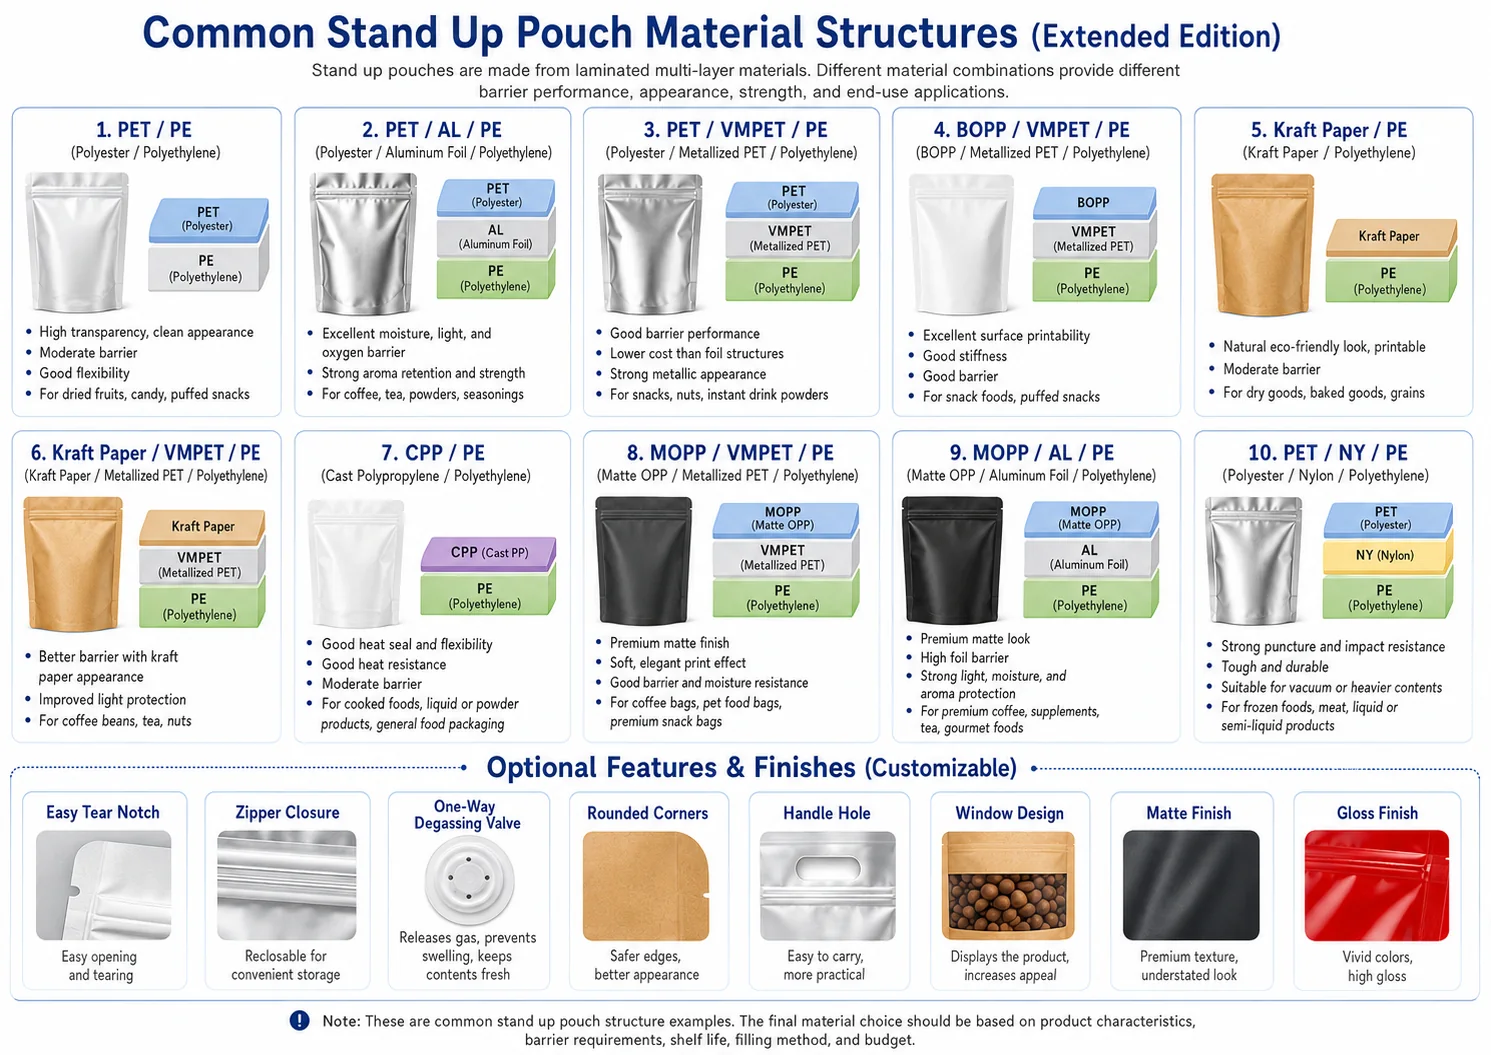
Structure reference
Common material structures and optional pouch features.Use this chart to compare outside-to-inside directions and discuss features; final materials still require product, filling and filled-pack review.
What each layer does
The outer web carries print and surface finish; a middle layer can add oxygen, moisture, aroma or light protection; the inner sealant provides product contact and heat-seal behavior. Adhesive selection and curing belong to the approved laminate process.
Construction details
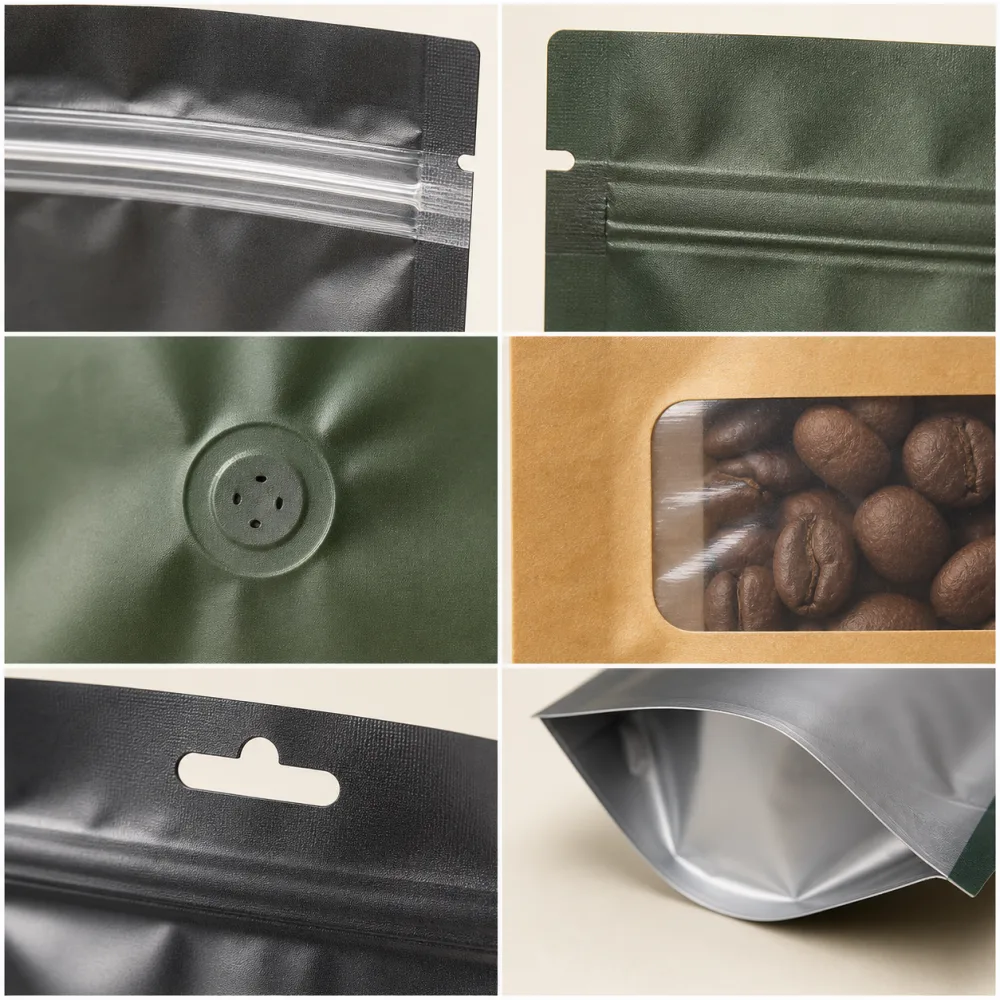
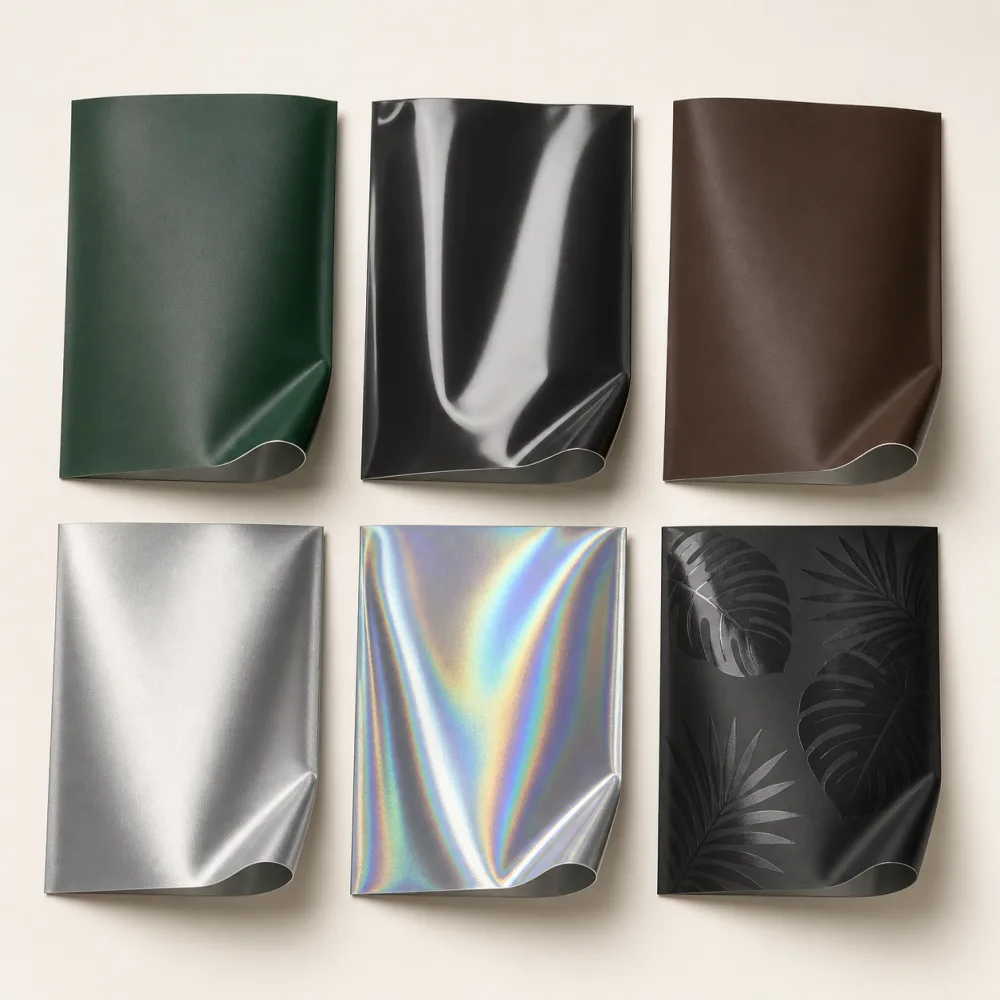
Review the features in context.
The selected closure and finish must work with the approved laminate, top-seal clearance, pouch size and intended opening experience.
- Specified closure
- Resealable zipper
- Surface direction
- Gloss clear
- Feature checkpoints
- Position, registration, seal clearance, repeated use and filled-pouch handling
Technical parameters
A clearer starting specification.
Every line should be confirmed in the signed specification and approved artwork before production.
- Pouch format
- Standard stand-up pouch
- Size
- Custom width × height × bottom gusset; confirmed with filled-product review
- Material direction
- PET / PE direction
- Closure & opening
- Resealable zipper
- Print route
- Digital or gravure direction selected after quantity, artwork and repeat-order review
- Surface finish
- Gloss clear
- Window direction
- Full clear body
- Final top seal
- Heat sealed after filling; seal window confirmed on the selected structure
- Approval baseline
- Approved dieline, layer structure, artwork version, feature positions and packing brief
Process & quality
Lock the record before the run.
Print appearance alone does not prove package performance. Review layer identity, bond quality, dimensions, feature registration, seals and the filled pouch as connected checkpoints.
Specification review
Product risk, target dimensions, structure, zipper, window or valve and final-seal method.
Artwork & print approval
Approved dieline, safe zones, barcode position, color reference and revision control.
Lamination & curing
Selected film layers combined with the appropriate adhesive route and controlled before conversion.
Pouch making & inspection
Dimensions, gusset, zipper, tear notch, valve, registration and seal appearance checked to the record.
Filled-pack validation
Use the real product to review handling, sealing, storage and distribution risks before the final order.
Typical buyer-defined checks may include seal-strength, leak, burst, puncture or barrier-transmission methods. The applicable method, conditions and acceptance limits must be agreed for the specific product rather than assumed from a pouch image.
Decision matrix
What must be confirmed, and by whom?
DecisionRecordOwner
Product evidenceFormula, condition, hard edges, light exposure and dense product loadBuyer / product team
Pouch geometryStandard stand-up pouch; front/back faces and bottom gussetConverter + filler
Material recordPET / PE direction; exact layers and thicknesses pending approvalConverter
Opening systemResealable zipper; Full clear bodyBuyer + converter
Filled-pack releasetest filled drop, puncture, seam stress and artwork readabilityBuyer / qualified lab as applicable
Inquiry brief
Send the inputs that change this pouch.
The product-prefilled inquiry keeps the selected SKU attached to your brief. Add these project values so material, size and testing questions can be reviewed together.
Prepare This Product InquiryProduct formula and physical formFill weight and approximate filled volumeStandard stand-up pouch target dimensions or sizing requestResealable zipper; Full clear bodyQuantity per artwork / SKUDestination market and shelf-life targetFilling and final-seal methodArtwork status and required validation
Product FAQ
Questions to resolve before approval.
What structure should be used for individually wrapped hard candy?
PET / PE direction is a comparison direction, not an automatic recommendation. Confirm the exact laminate after reviewing product sensitivity, target shelf life, filling, storage and destination conditions.
How should the Transparent Hard Candy Pouch size be chosen?
Measure product volume and density across representative batches, then trial width, height, gusset and functional headspace with the intended fill weight. Approve the filled pouch and case pack, not a weight chart alone.
What must be tested before ordering this pouch?
At minimum, define checks for dimensions, artwork, feature position, seals, opening, filled handling and the product failure modes named on this page. Methods and acceptance criteria remain project-specific.
Can this page prove shelf life or compliance?
No. It is a technical briefing page. Shelf life and destination-market compliance require evidence tied to the exact product, laminate, process, package revision and intended use.
Decision guides
Continue the product specification.
Use the application and technical records that match this pouch direction before preparing the inquiry.
Related searches
Explore the same buying intent.
Related products
Compare nearby pouch directions.
 View details
 Candy & Confectionery
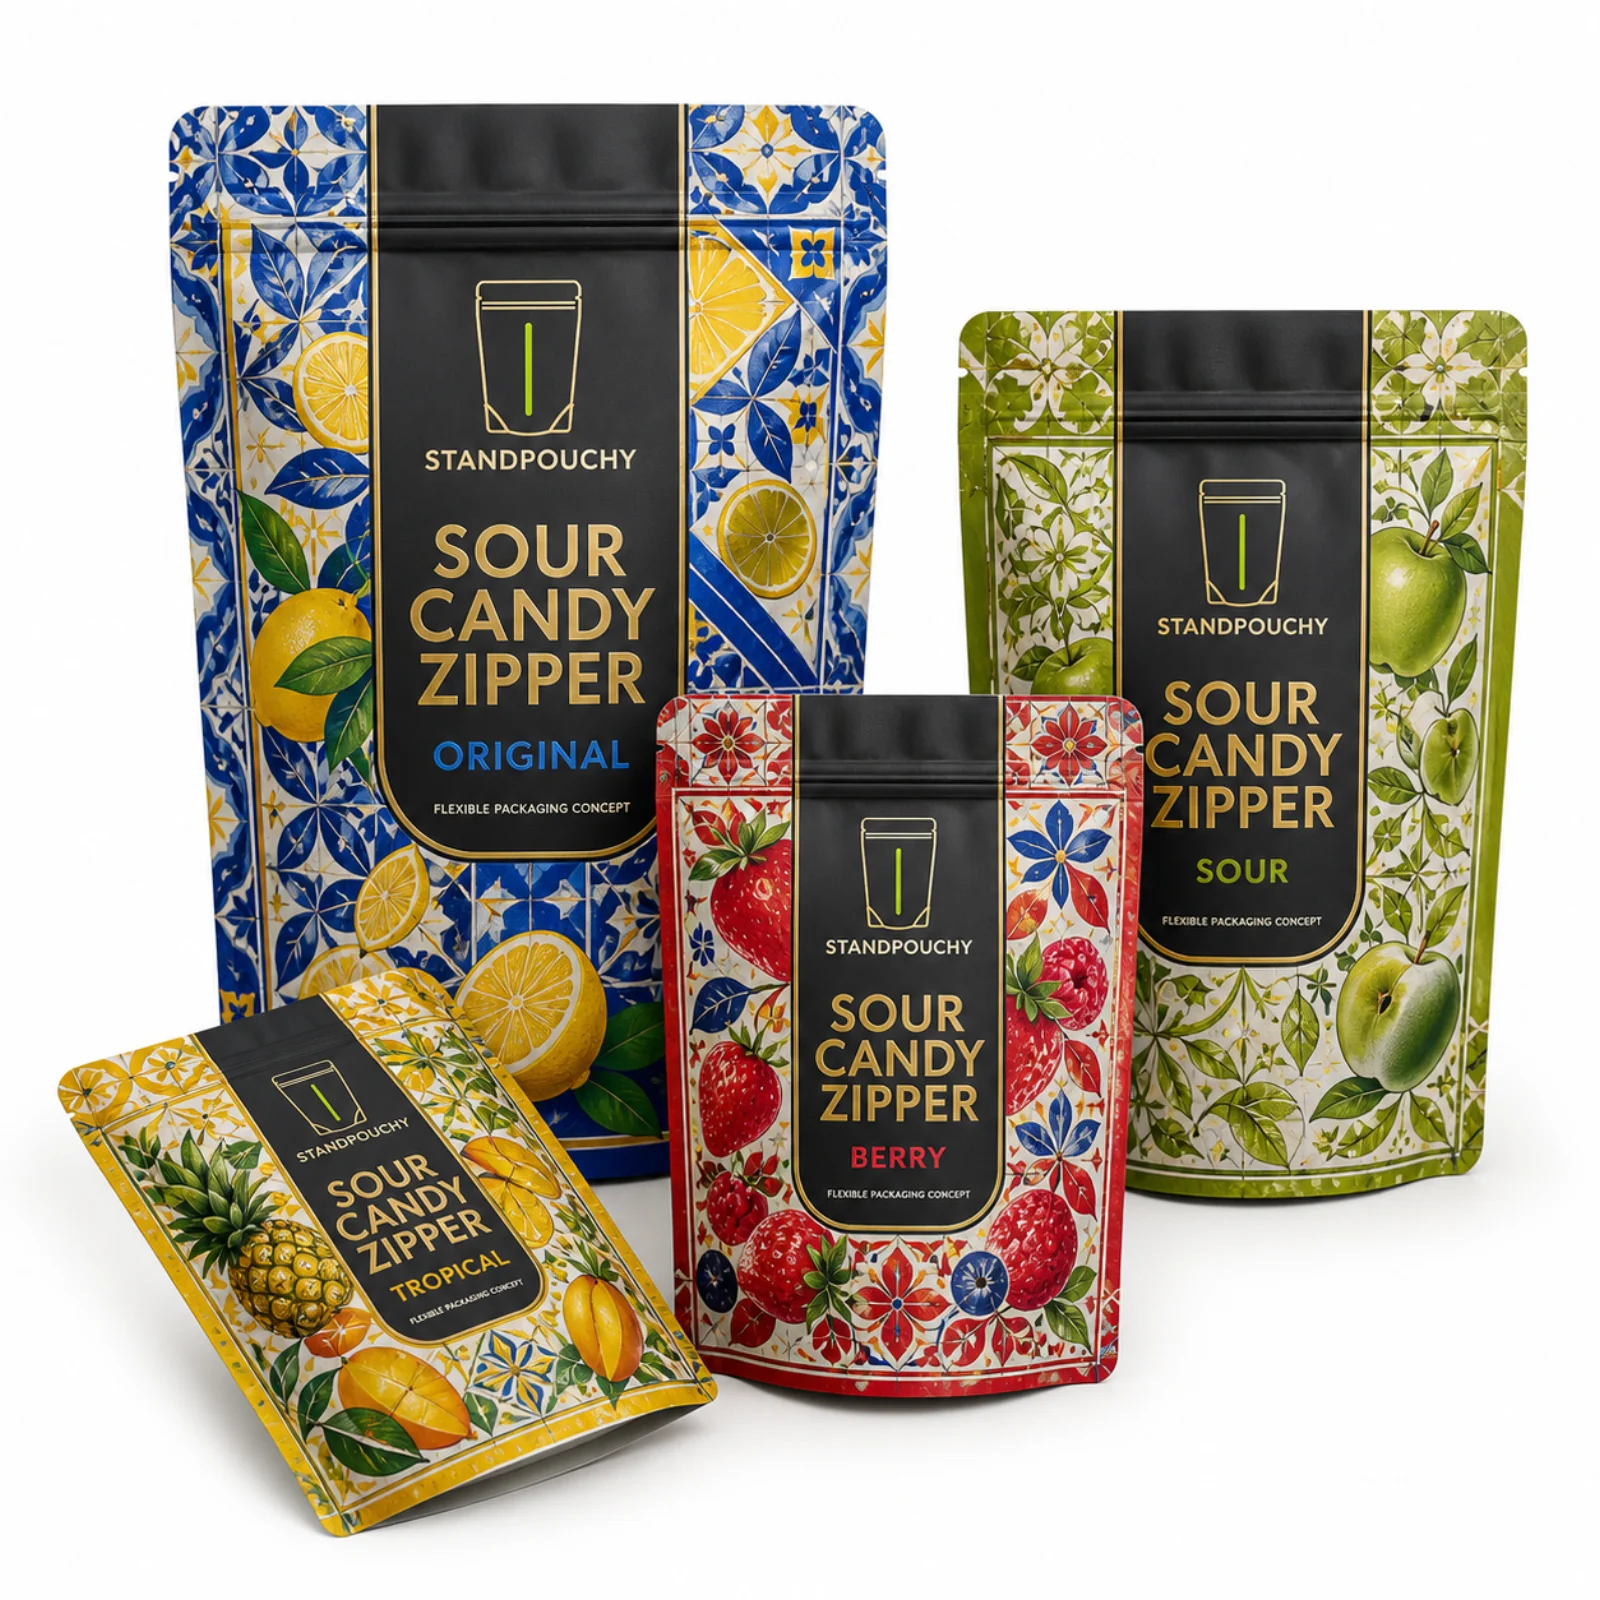
Matte Sour Candy Zipper Pouch
Custom pouches for sour sugar-coated candy, planned around acid sugar dust, moisture change and zipper contamination. Review a generous clean zone above the product fill line before confirming size and materials.
- Structure
- Matte PET / PE direction
- Closure
- Resealable zipper
- Finish
- Matte lime
- Digital MOQ
- From 200 pcs*
- Printing
- Digital / gravure
- Production
- 7–10 days after approval*
- Shipping estimate
- 7–10 days*
*Selected specifications and routes; confirm eligibility and timing in your quote.
 View details
 Candy & Confectionery
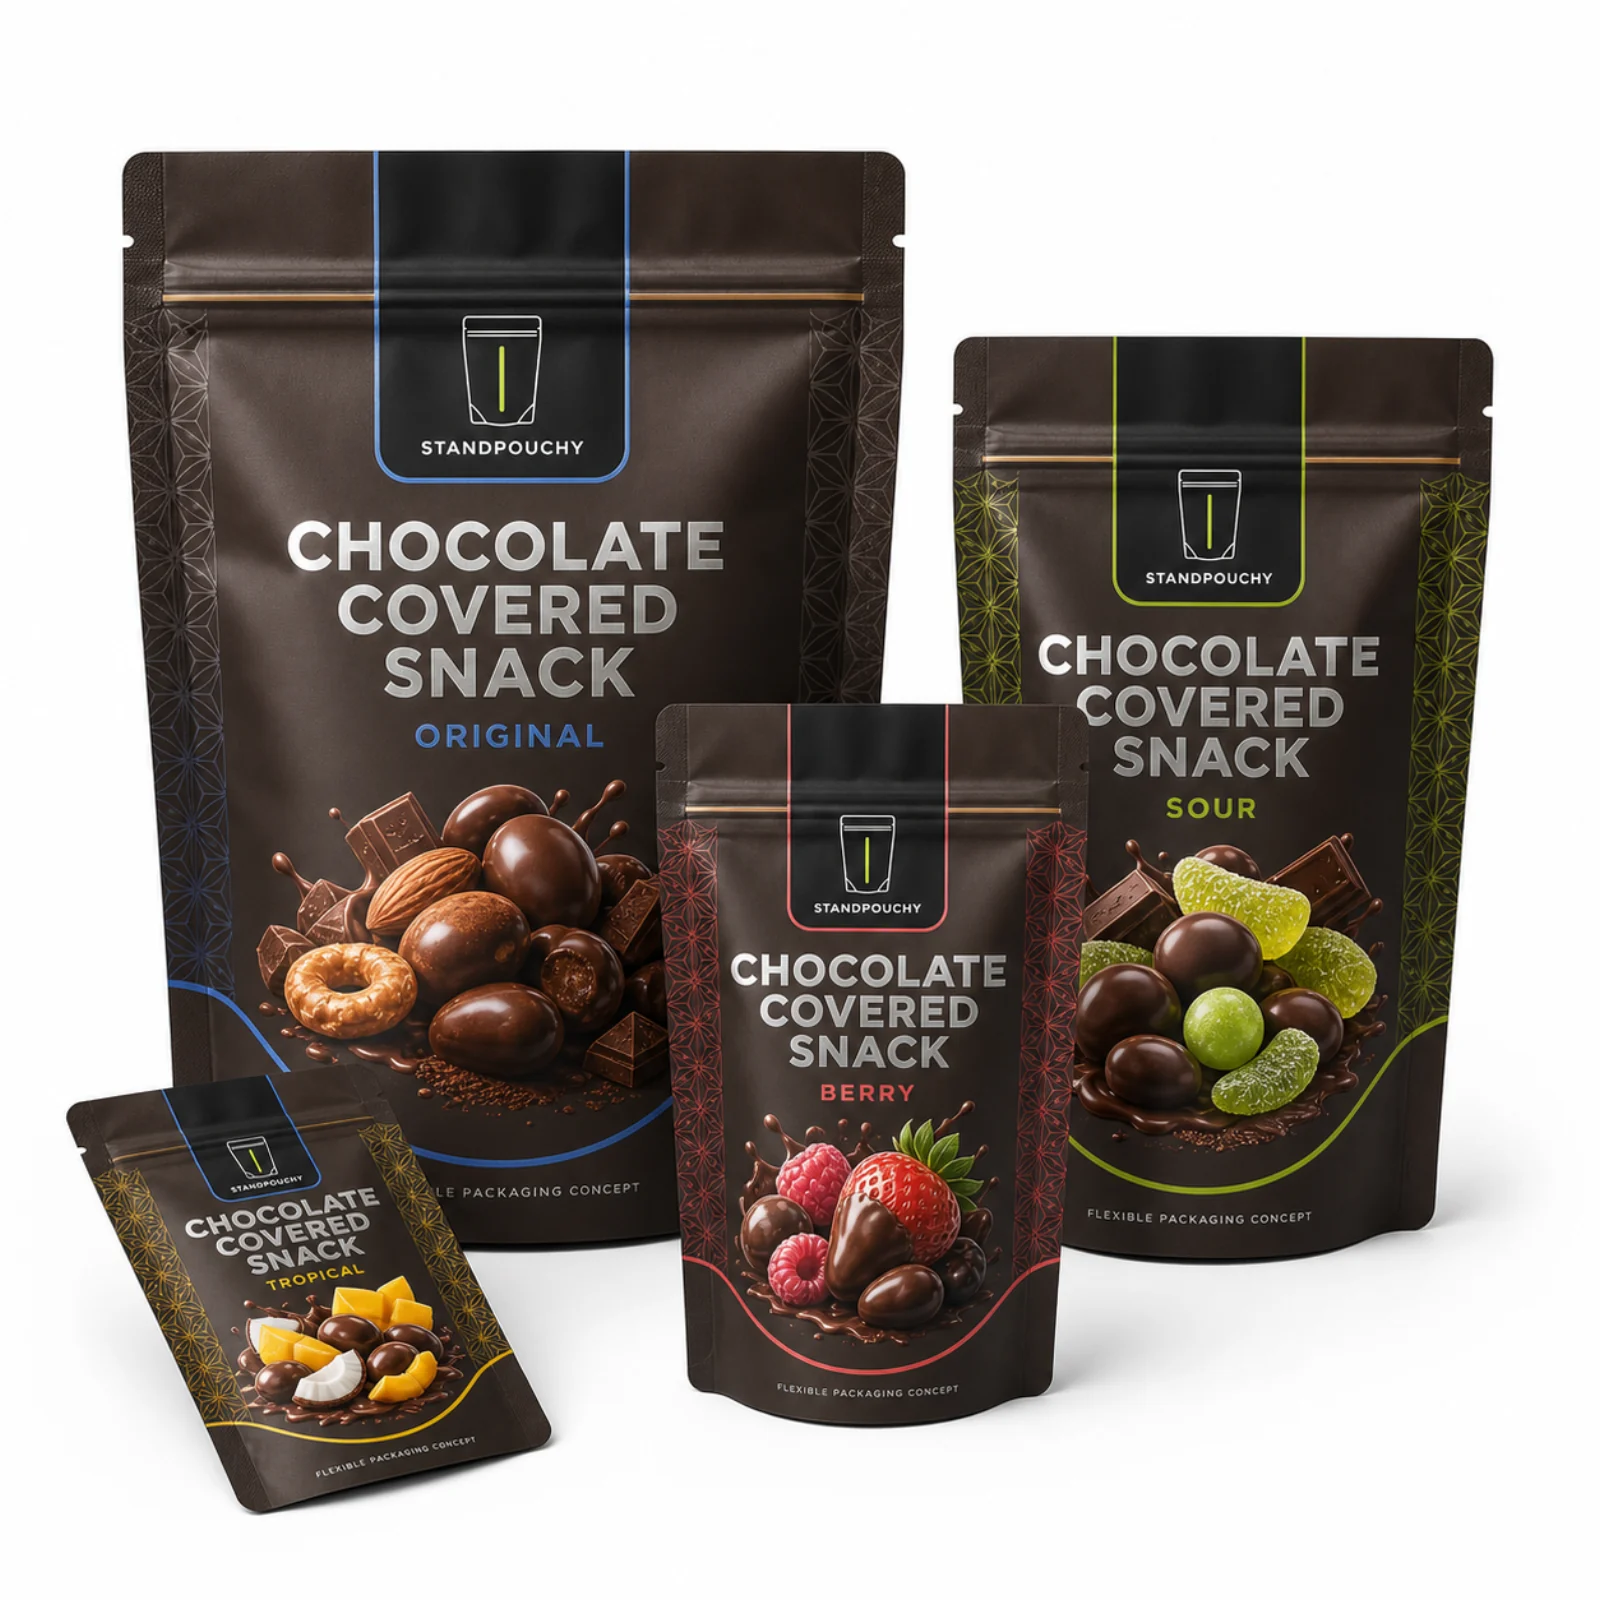
Chocolate Covered Snack Barrier Pouch
Custom pouches for chocolate-covered snacks, planned around temperature, light, aroma and fat contact. Review an opaque barrier direction coordinated with storage-temperature instructions before confirming size and materials.
- Structure
- PET / VMPET / PE direction
- Closure
- Resealable zipper
- Finish
- Matte cocoa
- Digital MOQ
- From 200 pcs*
- Printing
- Digital / gravure
- Production
- 7–10 days after approval*
- Shipping estimate
- 7–10 days*
*Selected specifications and routes; confirm eligibility and timing in your quote.
 View details
 Candy & Confectionery
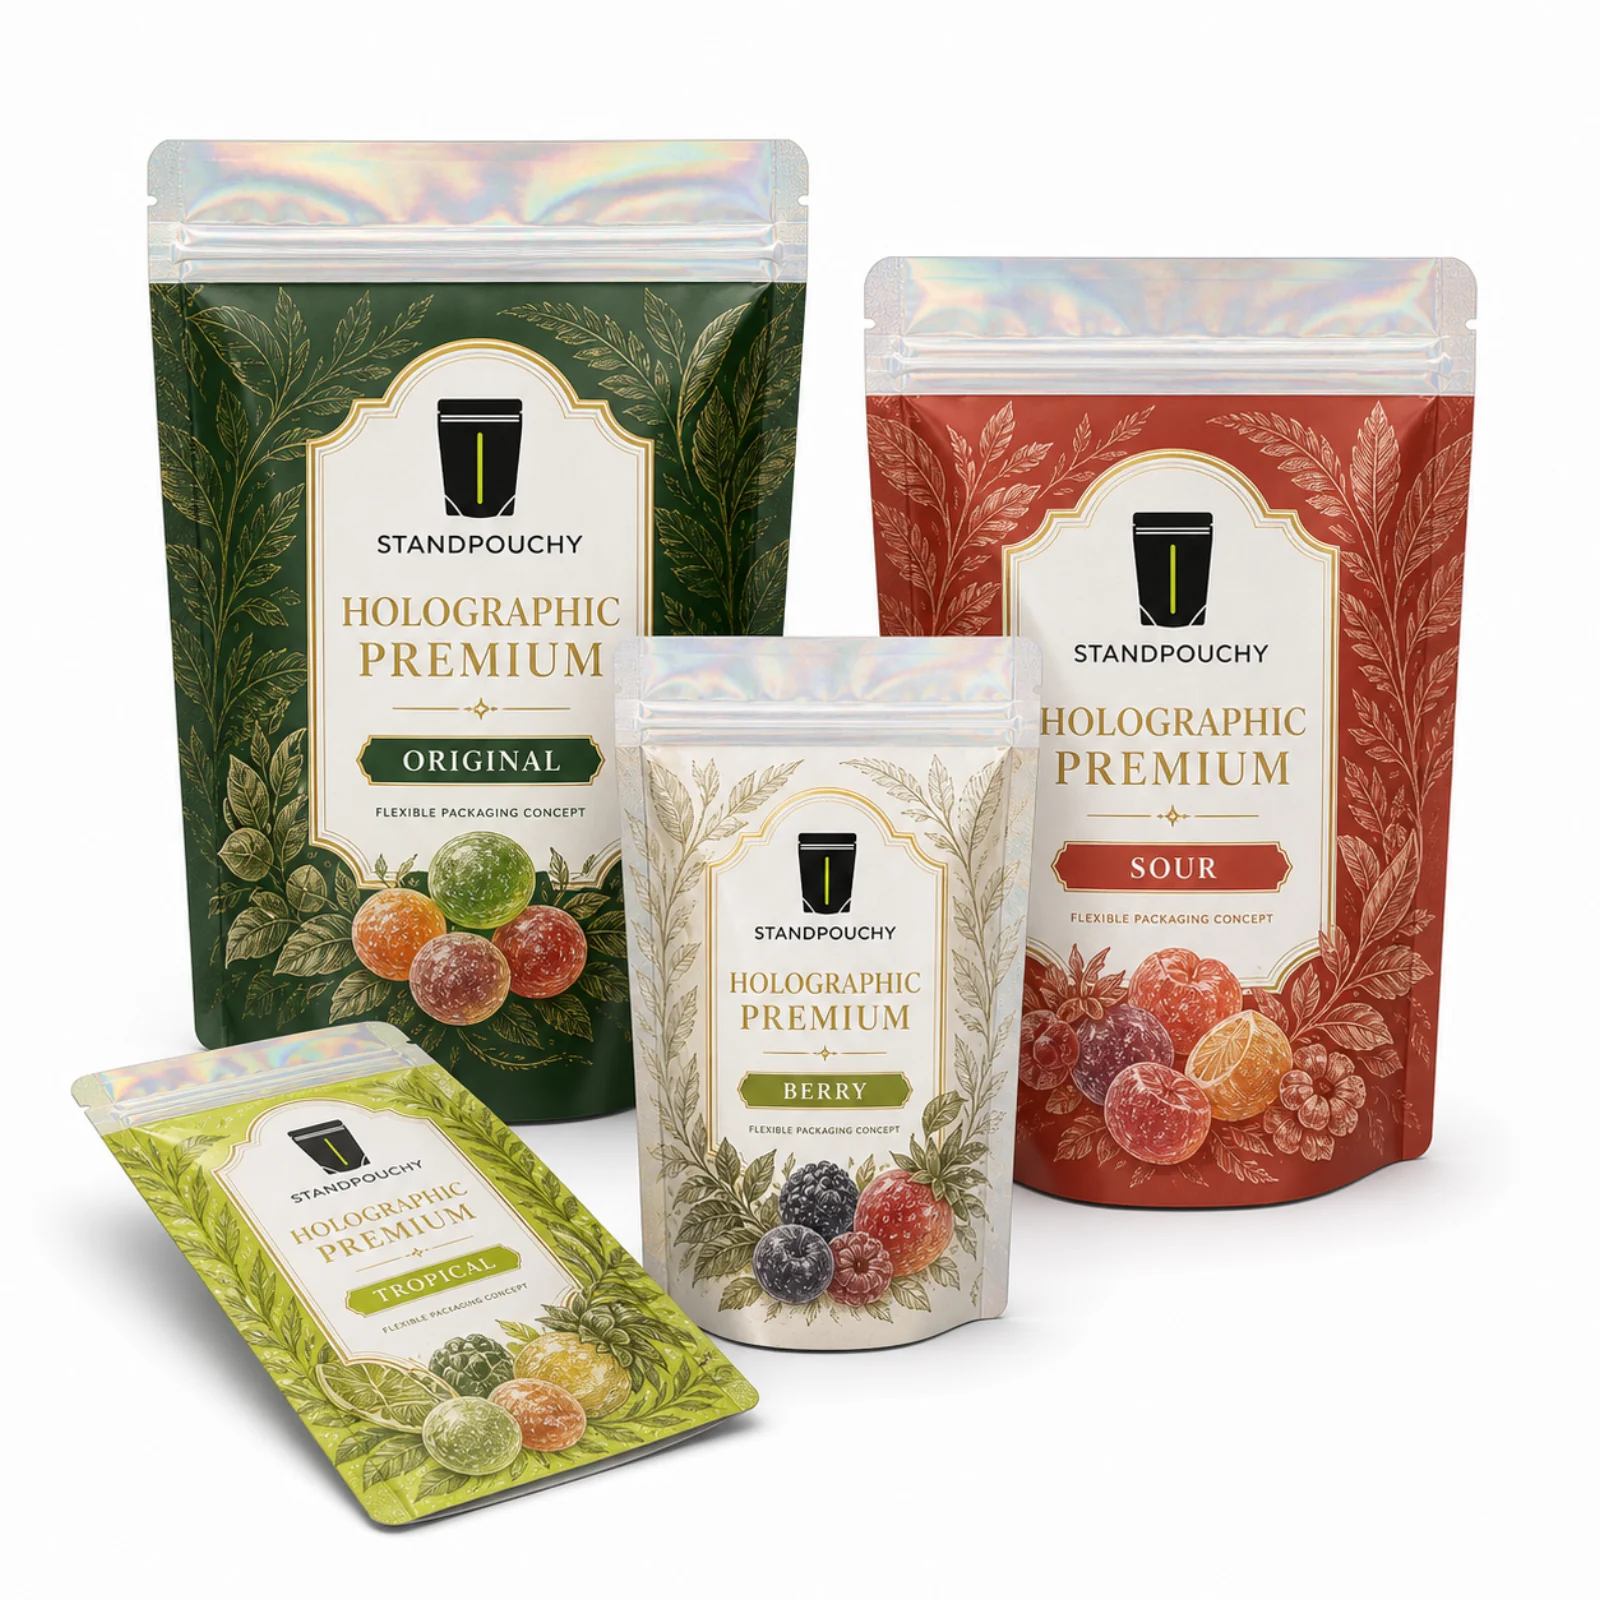
Holographic Premium Confectionery Doypack
Custom pouches for premium confectionery, planned around effect-film design, product compatibility and premium shelf handling. Review controlled holographic contrast around mandatory copy and variable data before confirming size and materials.
- Structure
- Holographic PET / PE direction
- Closure
- Resealable zipper
- Finish
- Holographic
- Digital MOQ
- From 200 pcs*
- Printing
- Digital / gravure
- Production
- 7–10 days after approval*
- Shipping estimate
- 7–10 days*
*Selected specifications and routes; confirm eligibility and timing in your quote.