Doyen Bottom
Stable and practical for many dry products and stand-up formats.
Build your pouch
Start with the product, fill weight, filling method and target shelf life. Then compare size, barrier direction, zipper or valve, print proof and finish without assuming a stock pouch will fit the same way.
 4 Print5 Finish
Live browser tool: the size controls, rotation and local artwork preview require this interactive page and cannot be reproduced by a static AI answer. Visual output is a planning preview, not a production dieline or quotation.
01 Size & Shape
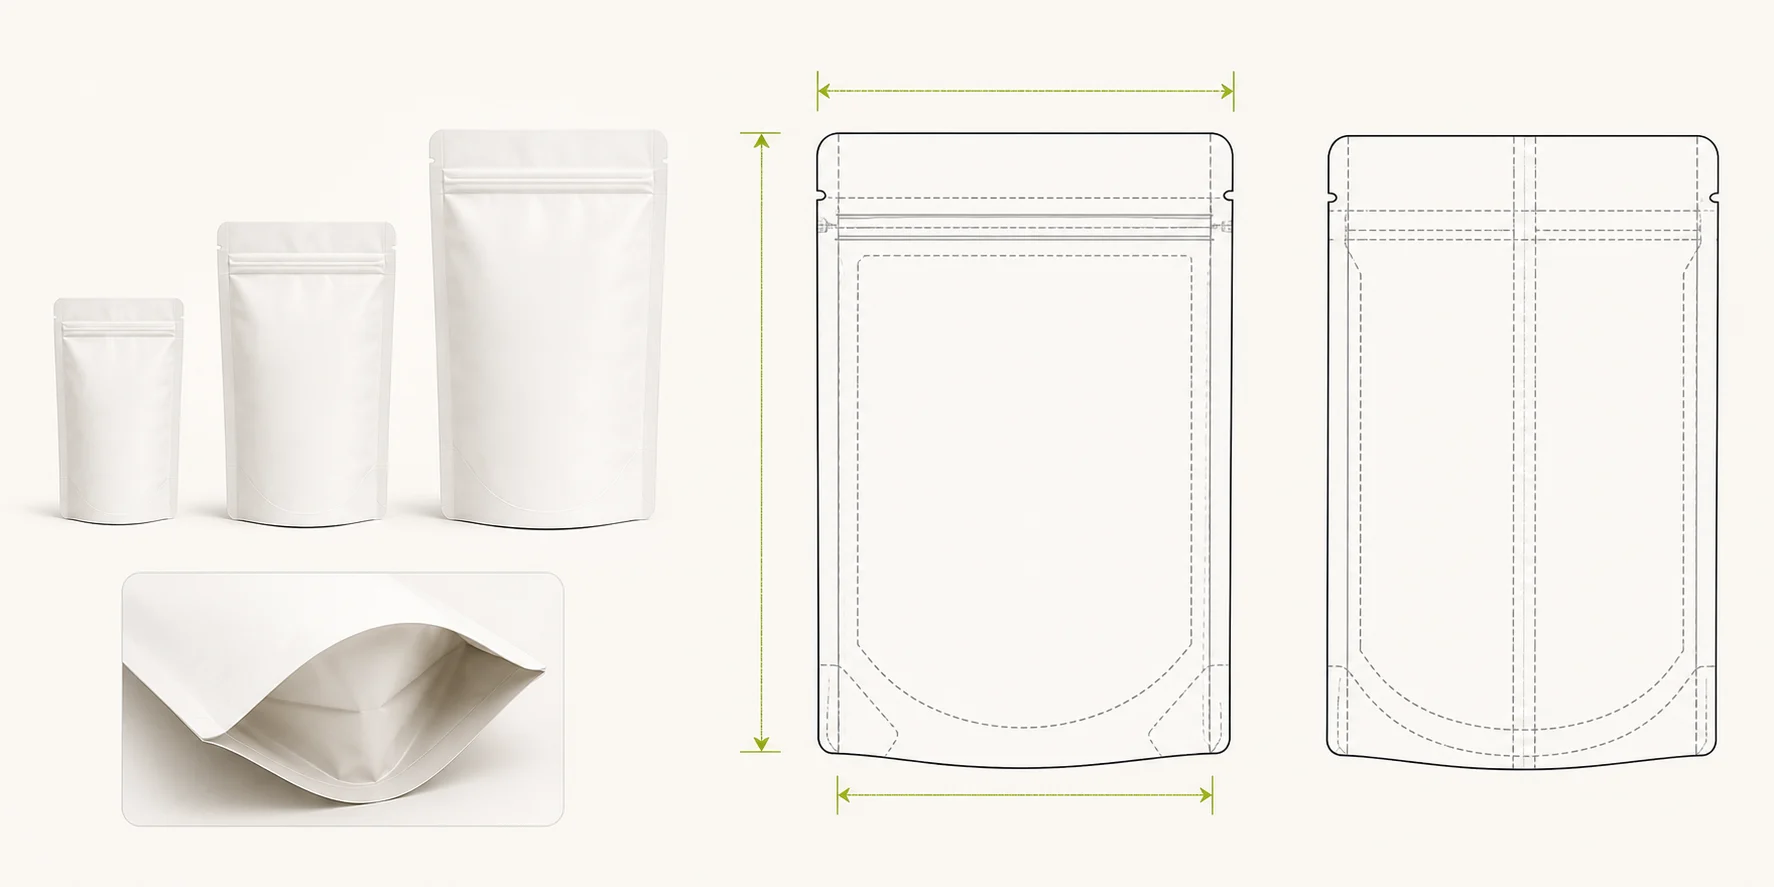
Stable and practical for many dry products and stand-up formats.
A different bottom construction for heavier or project-specific filling needs.
02 Material & Barrier
Review Mono-PE structures, barrier evidence and recycling requirements.
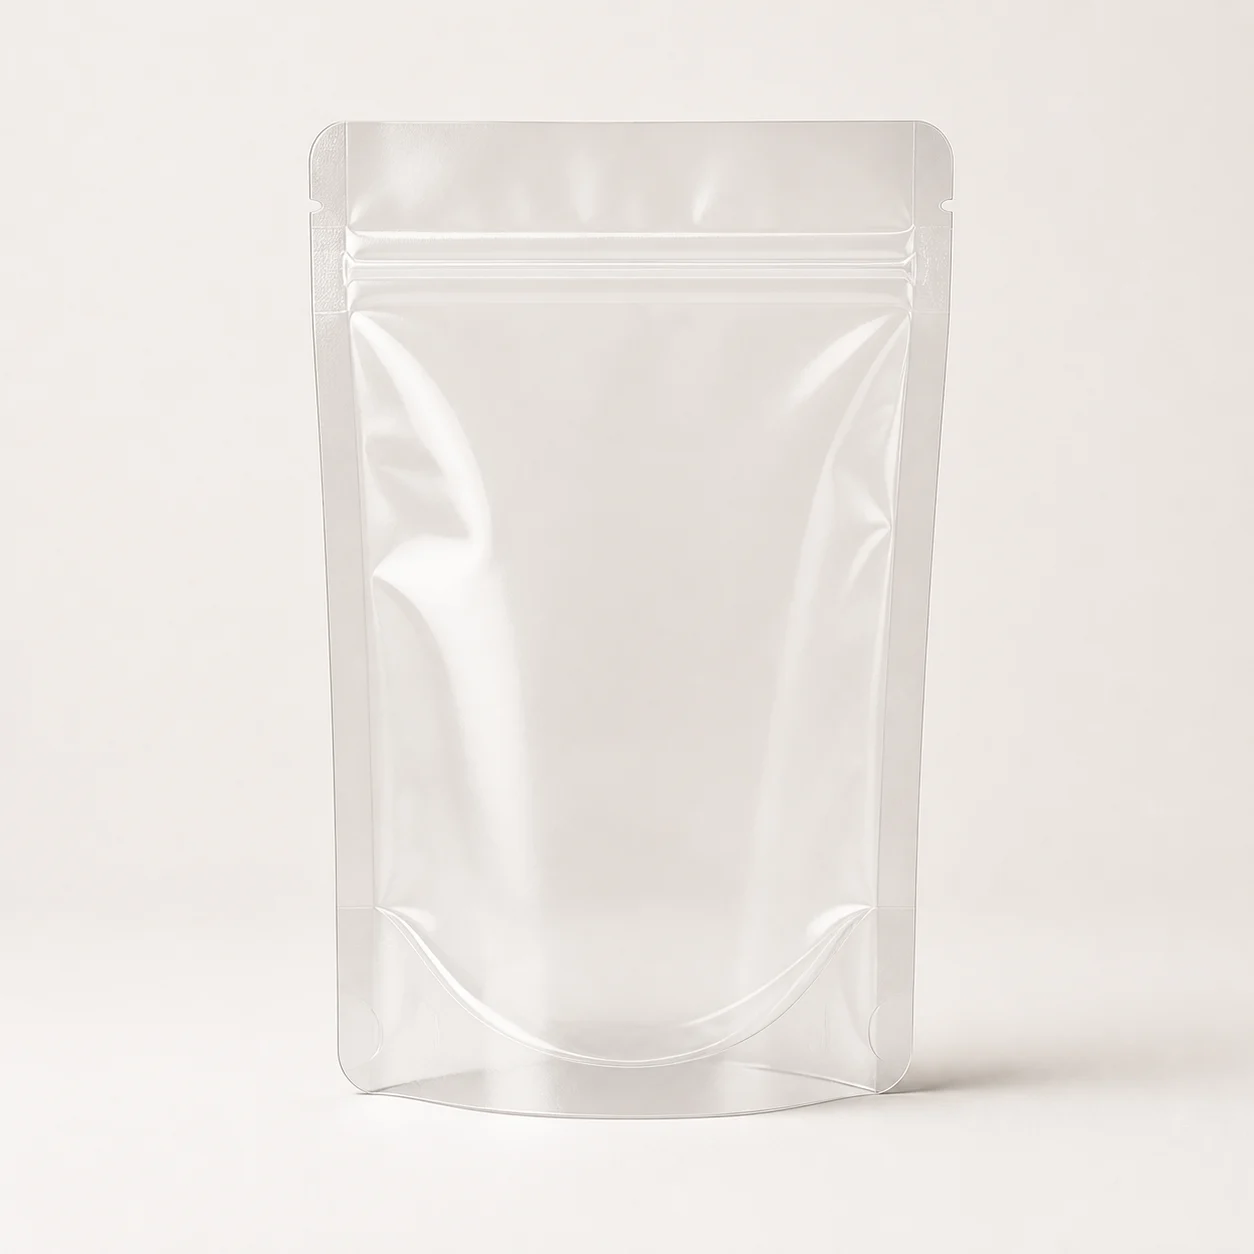 Clear
Clear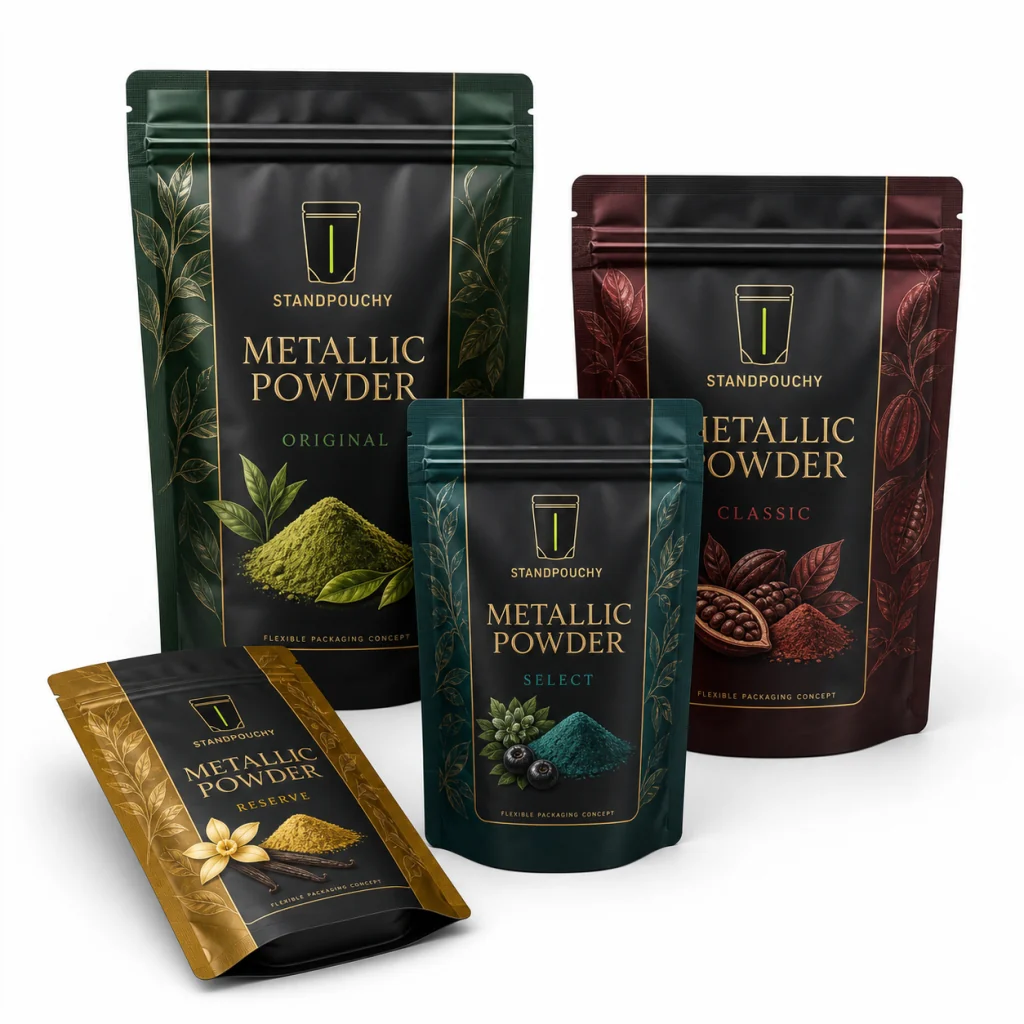 Metalized
 Aluminum Foil
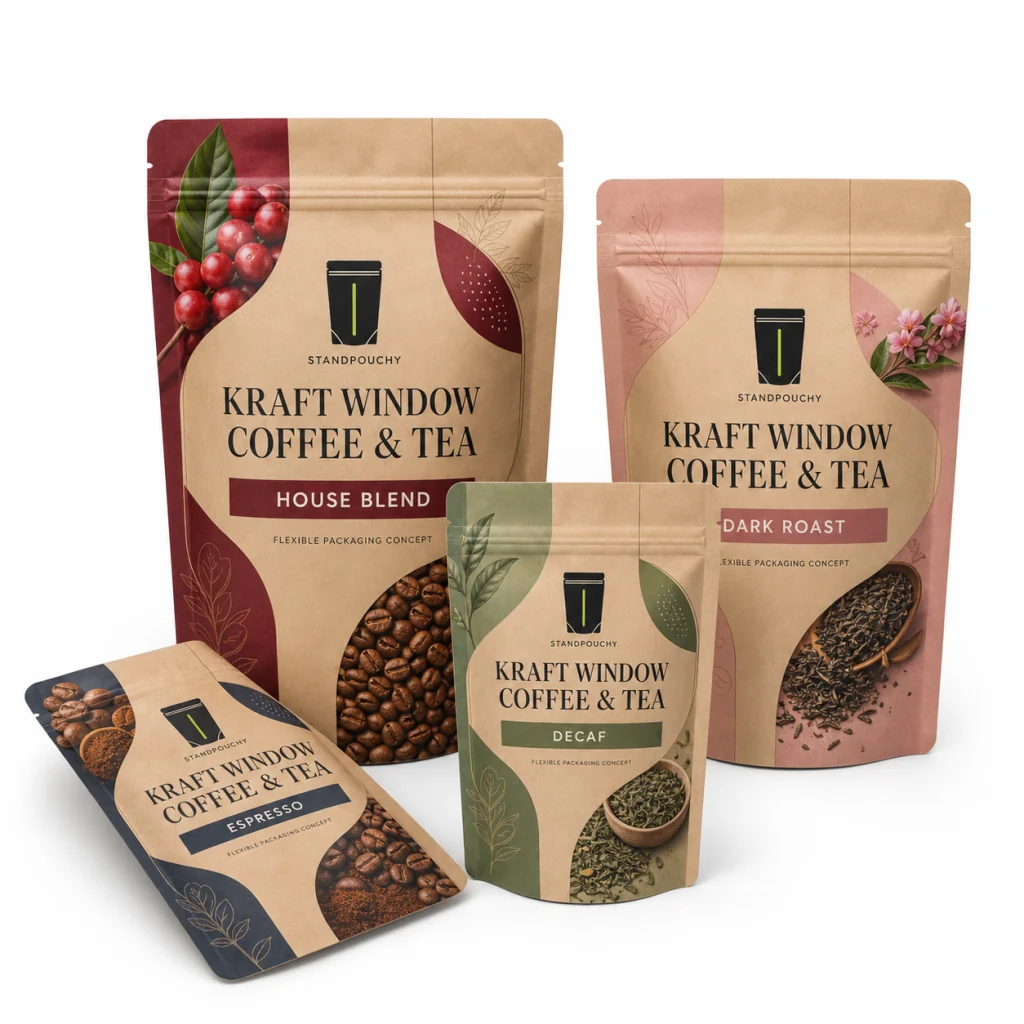 Kraft Look
 Mono-Material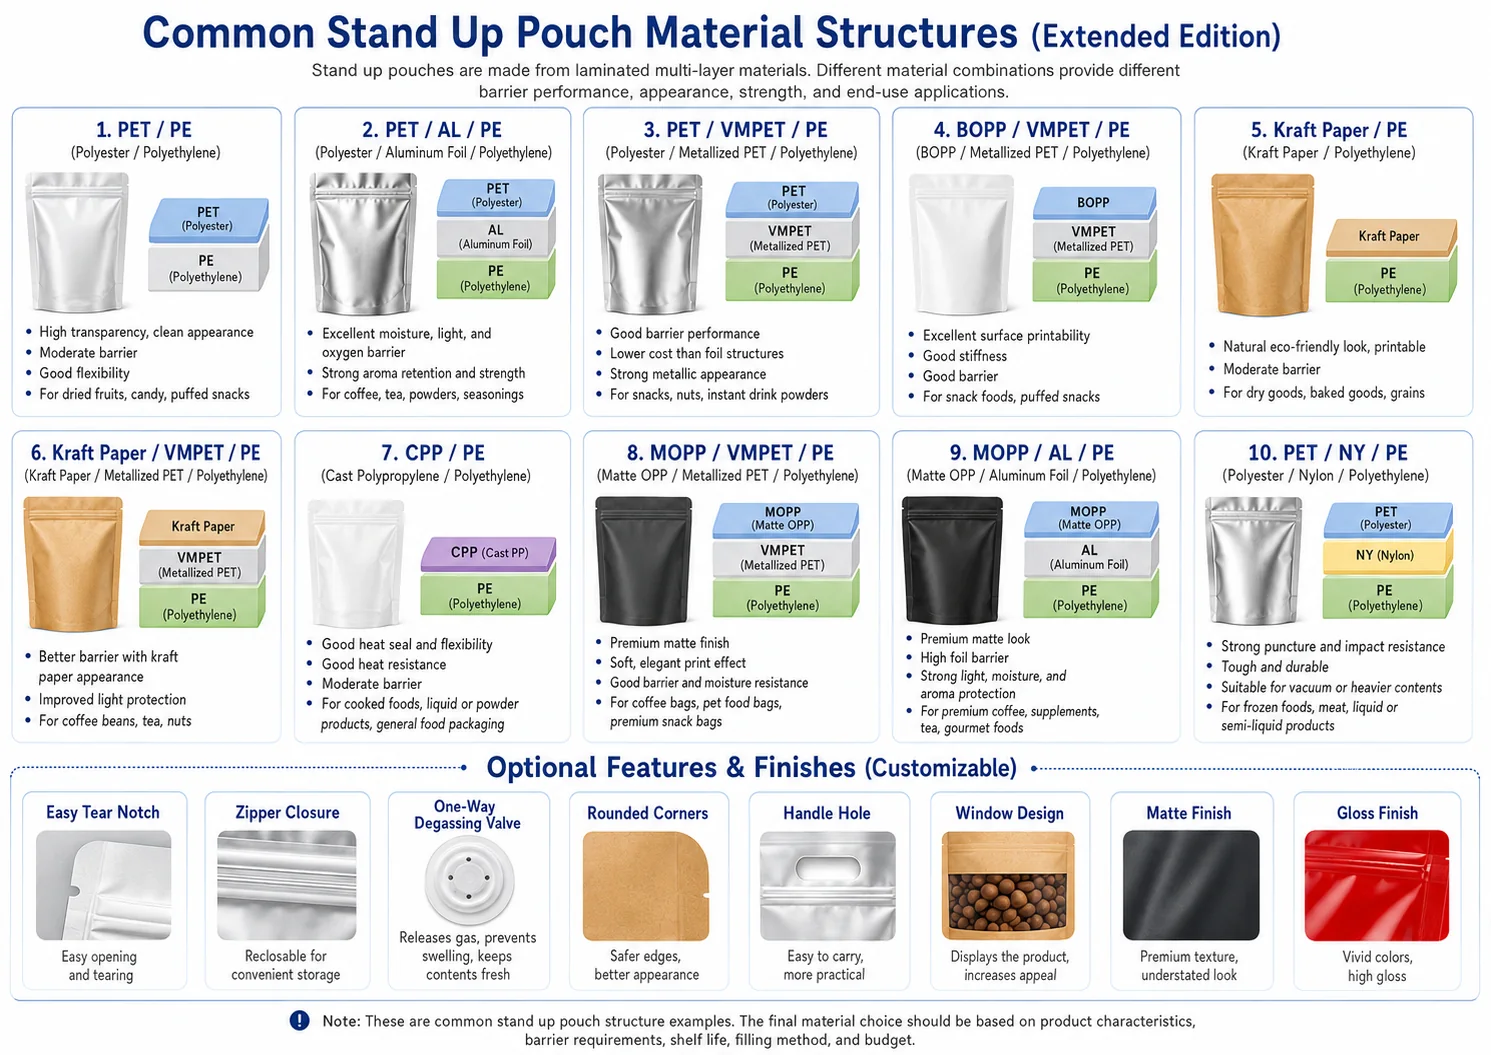
Structure reference
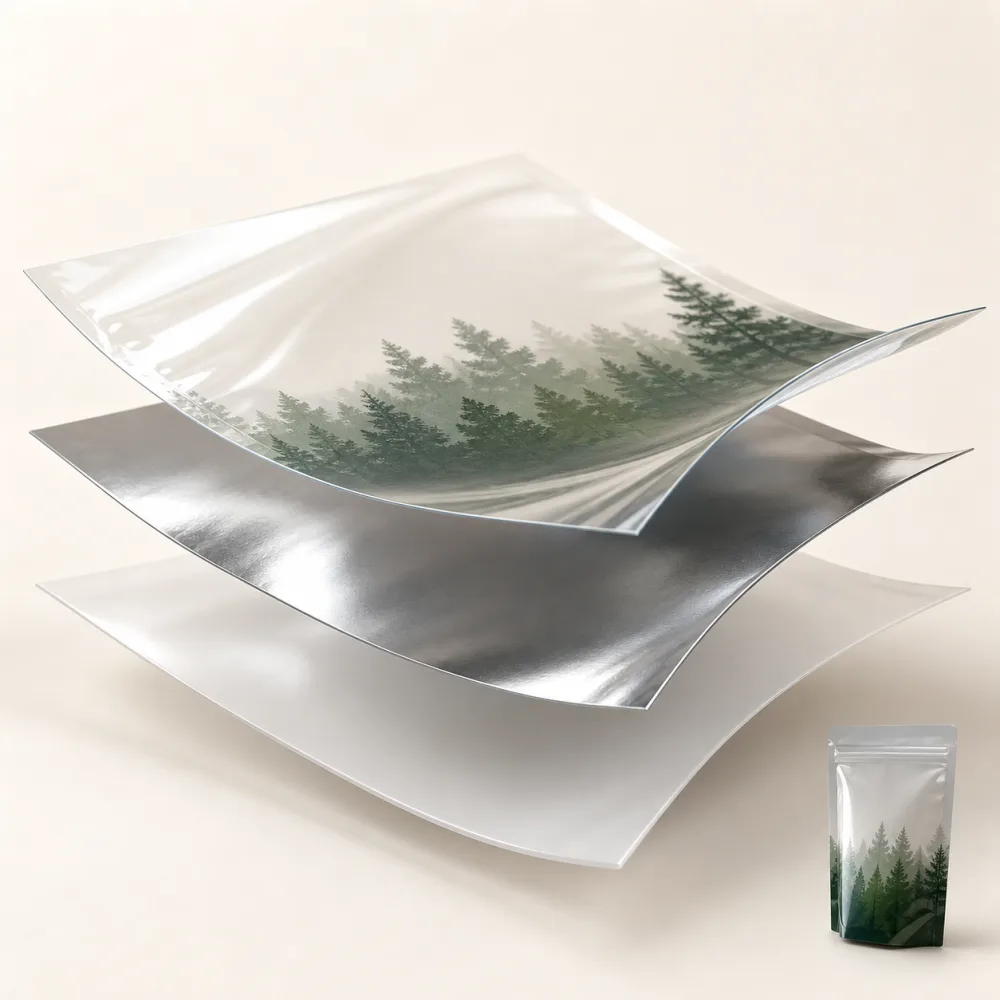
Common material structures and optional pouch features.Use this chart to compare outside-to-inside directions and discuss features; final materials still require product, filling and filled-pack review.
Lamination is a process, not just a layer list. Film treatment, ink, adhesive, coating weight, curing, bond quality and the final heat-seal window must work together. Confirm the finished laminate and filled pouch rather than approving material names in isolation.
Confirm the exact structure after reviewing the product, shelf-life target, filling process and destination market. Compare layer roles and required evidence in the material structure guide.
03 Features
Review each feature with the filled pouch. Zipper clearance, tear access, product in the closure channel, valve position and window location can change the opening, sealing and display result.
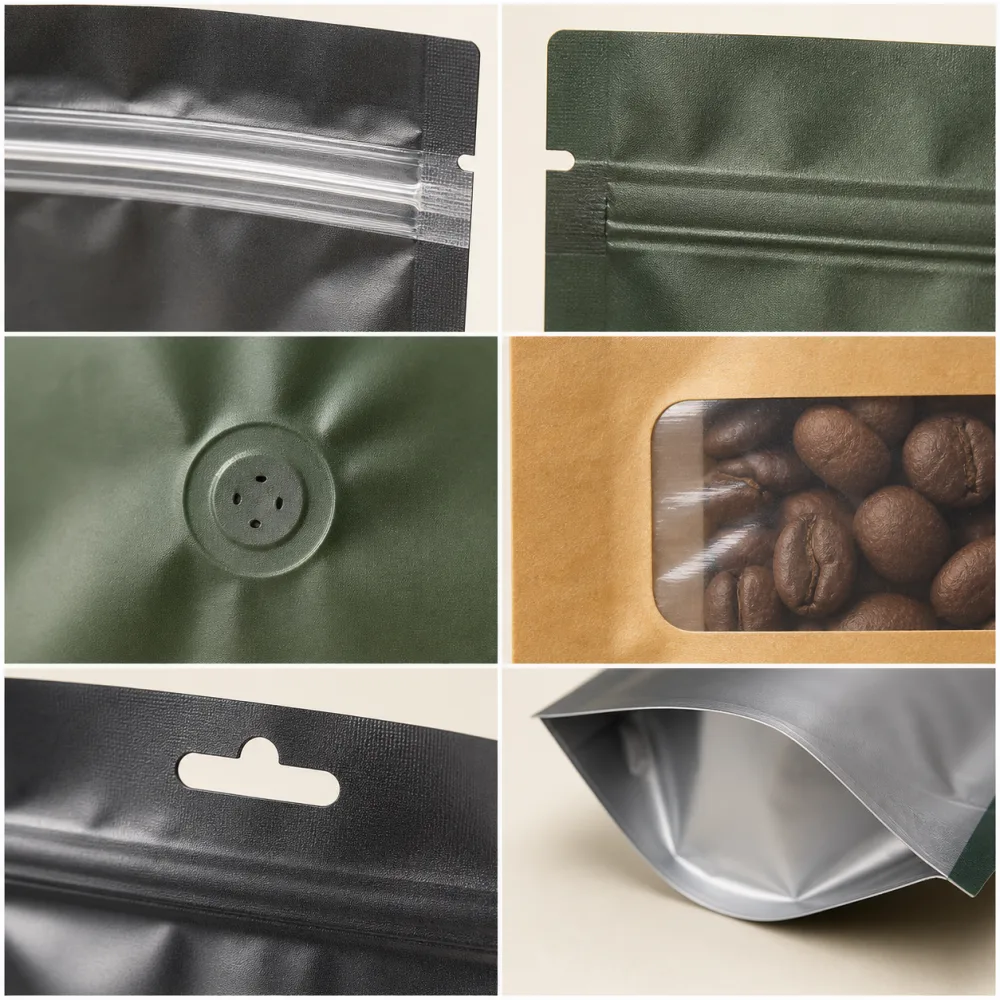
Supports repeated closing after opening; review alignment, access and product interference.
Position the notches above the zipper and confirm the intended opening sequence.
Balance product visibility with artwork, light exposure and the selected structure.
Confirm the hole shape, load and retail display orientation.
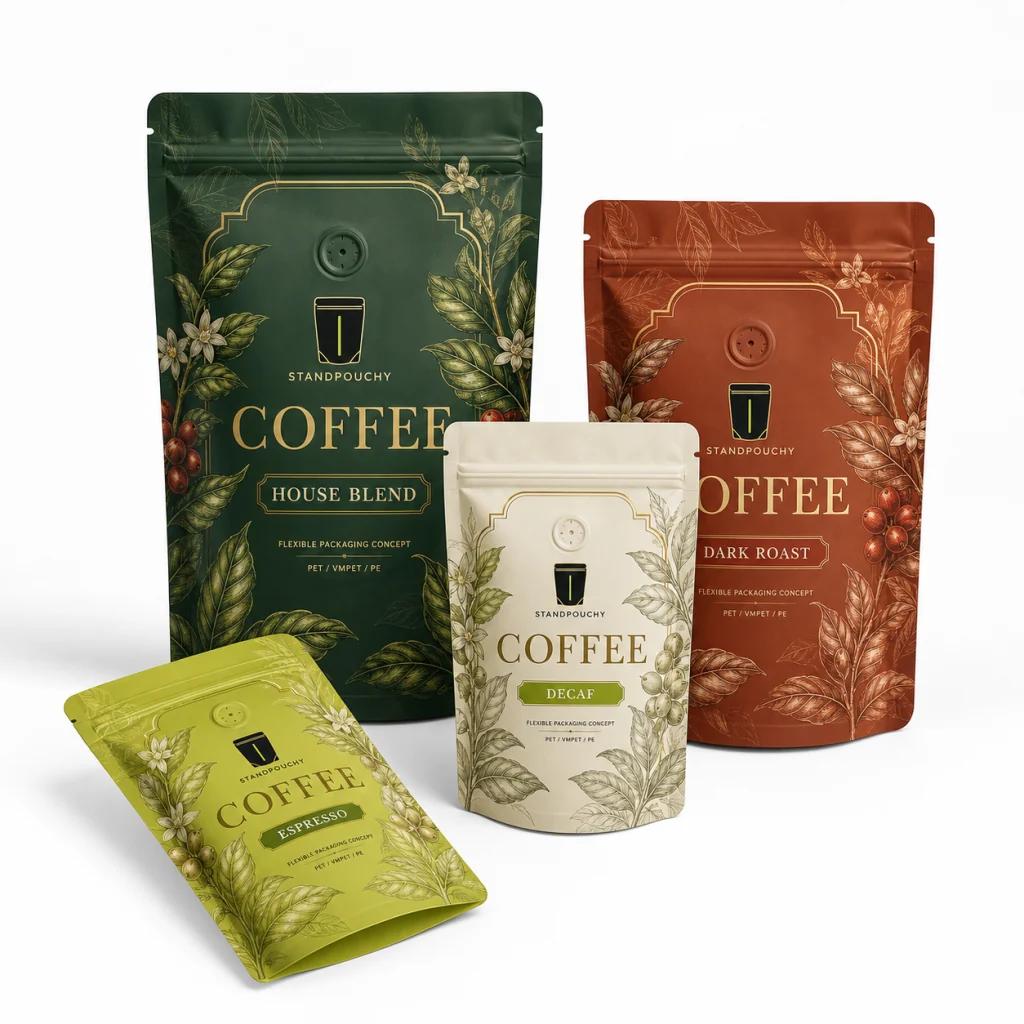
Specify and test the valve for the selected coffee, pouch and storage route.
The pouch video library
Explore pouch formats, details and samples before building your brief.
Sample references; the pouch shown may differ from your selected specification.
04 Print & Finish
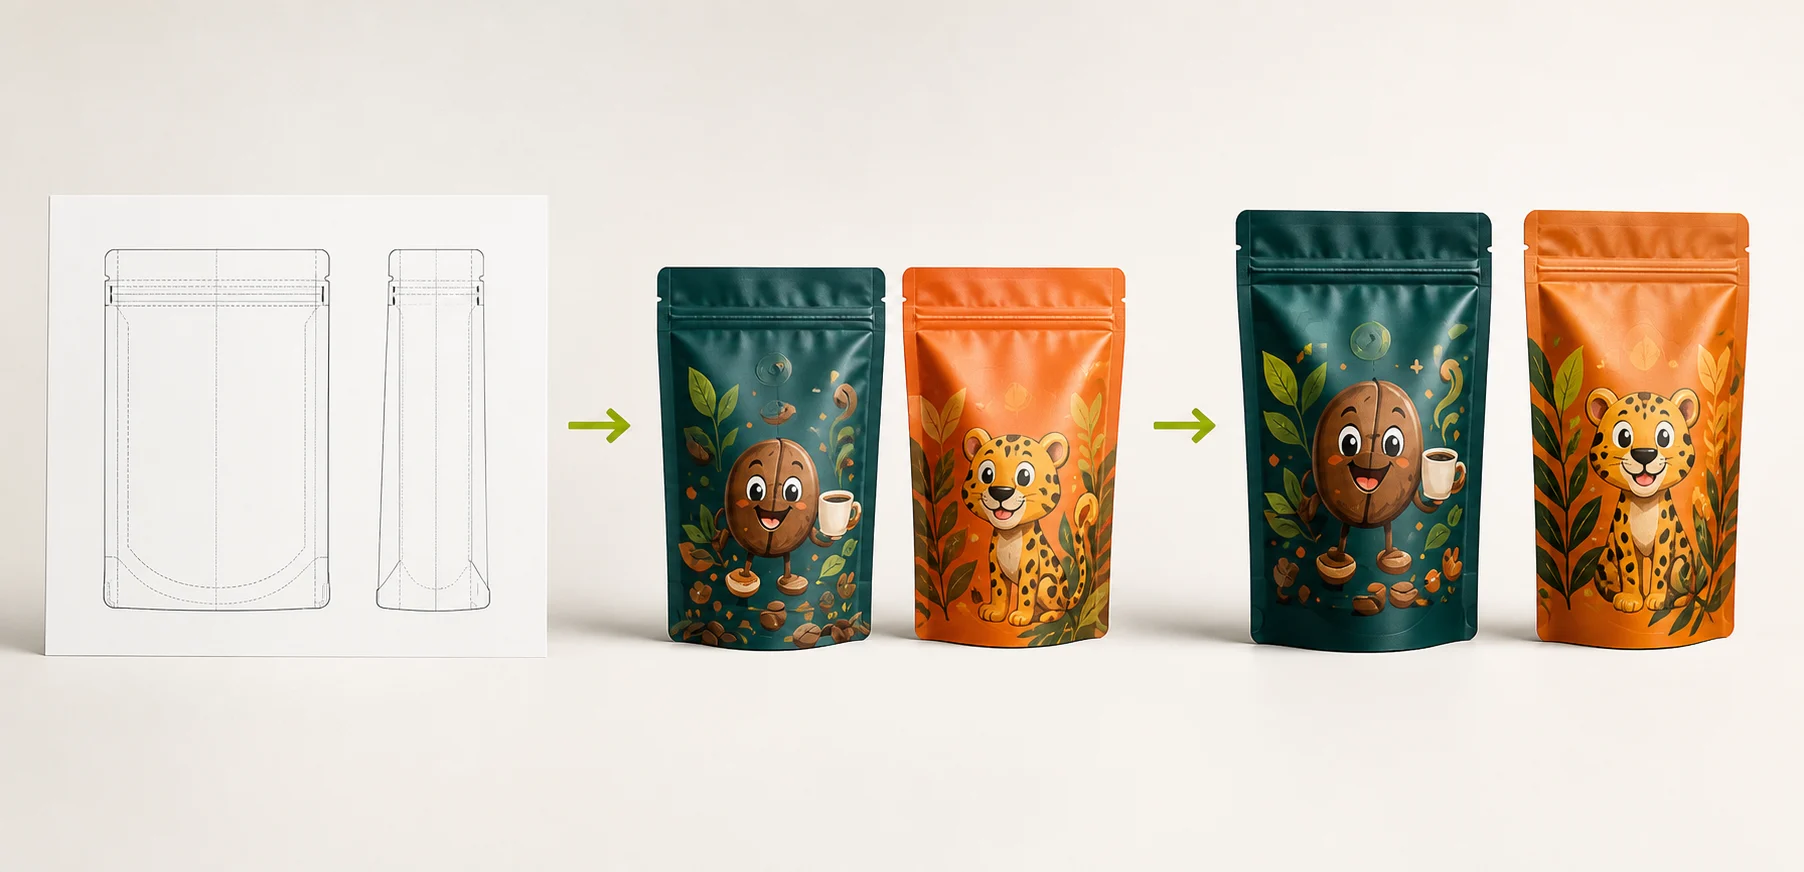
Vector artwork Linked images Fonts outlined Bleed & safe area Barcode position
Matte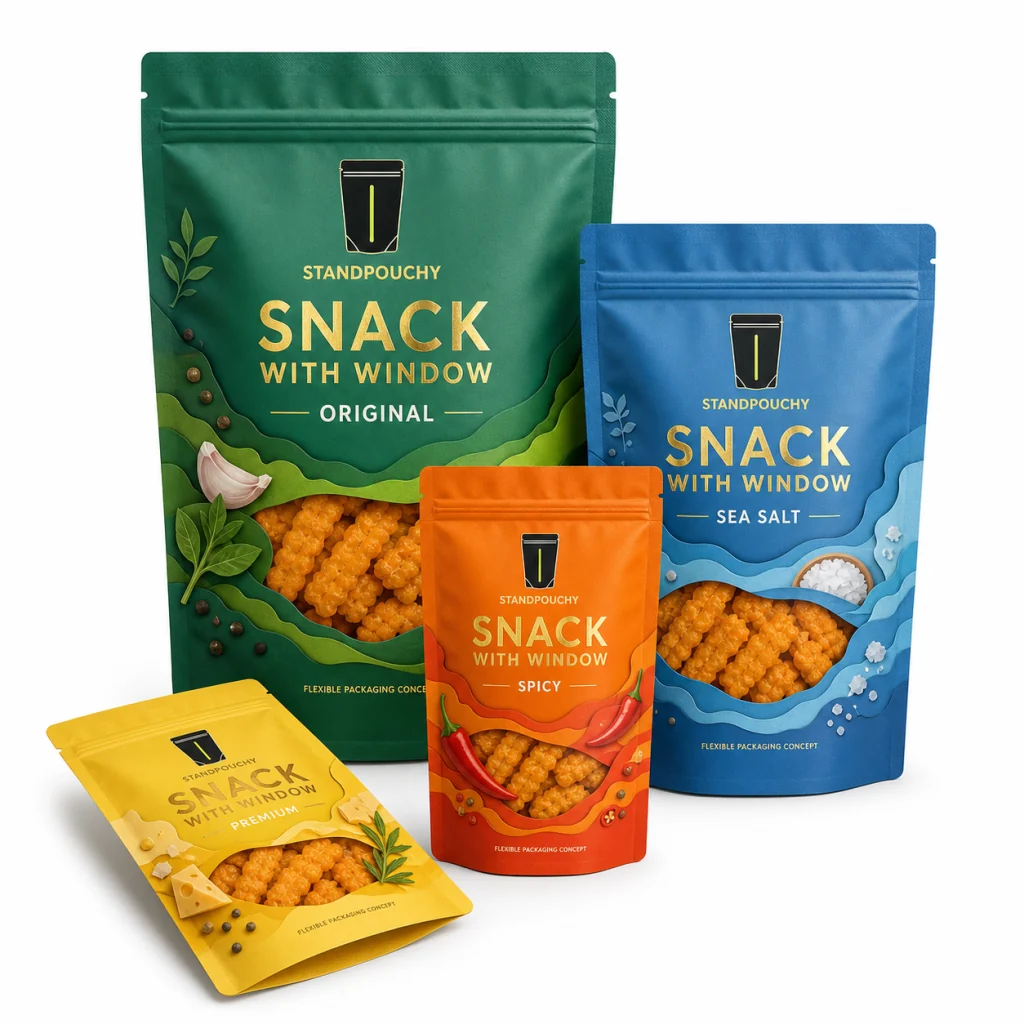 Gloss
Gloss Soft Touch
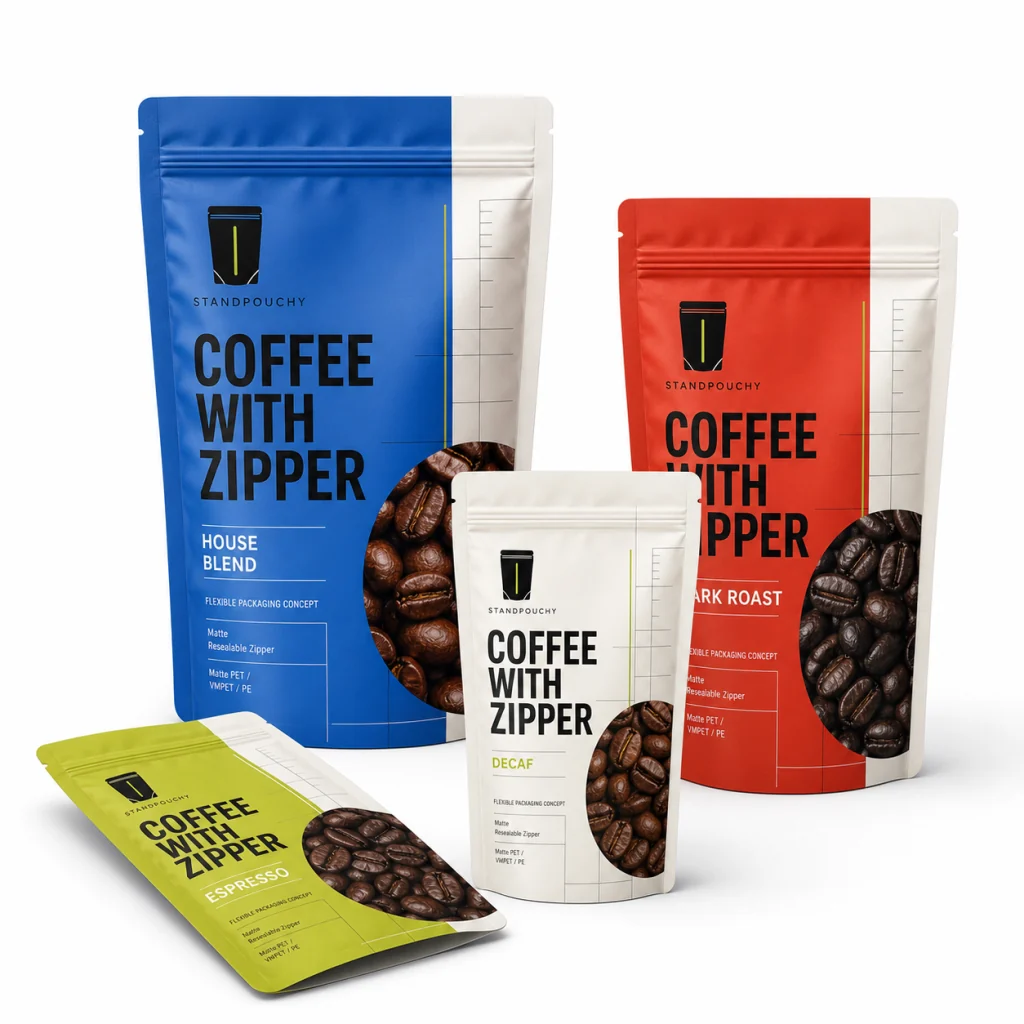 Metallic Effect
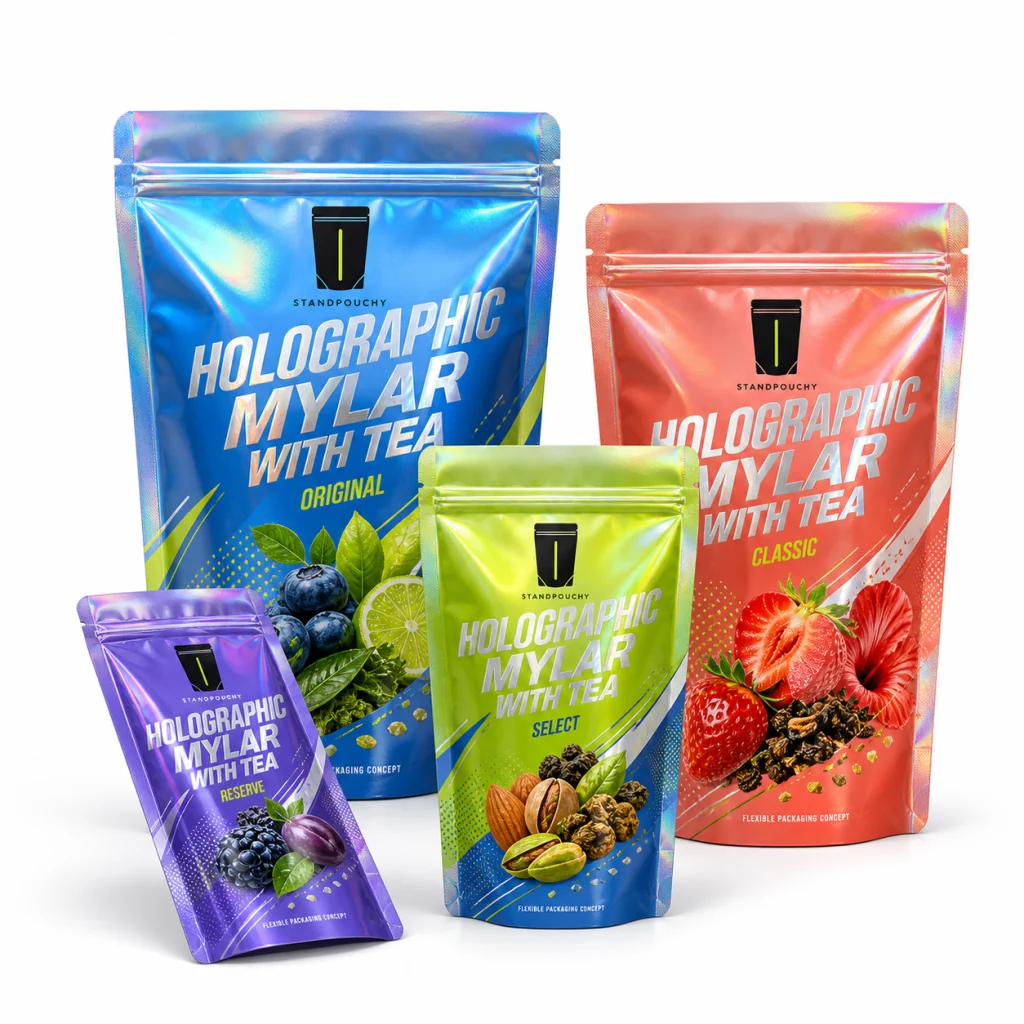 Holographic
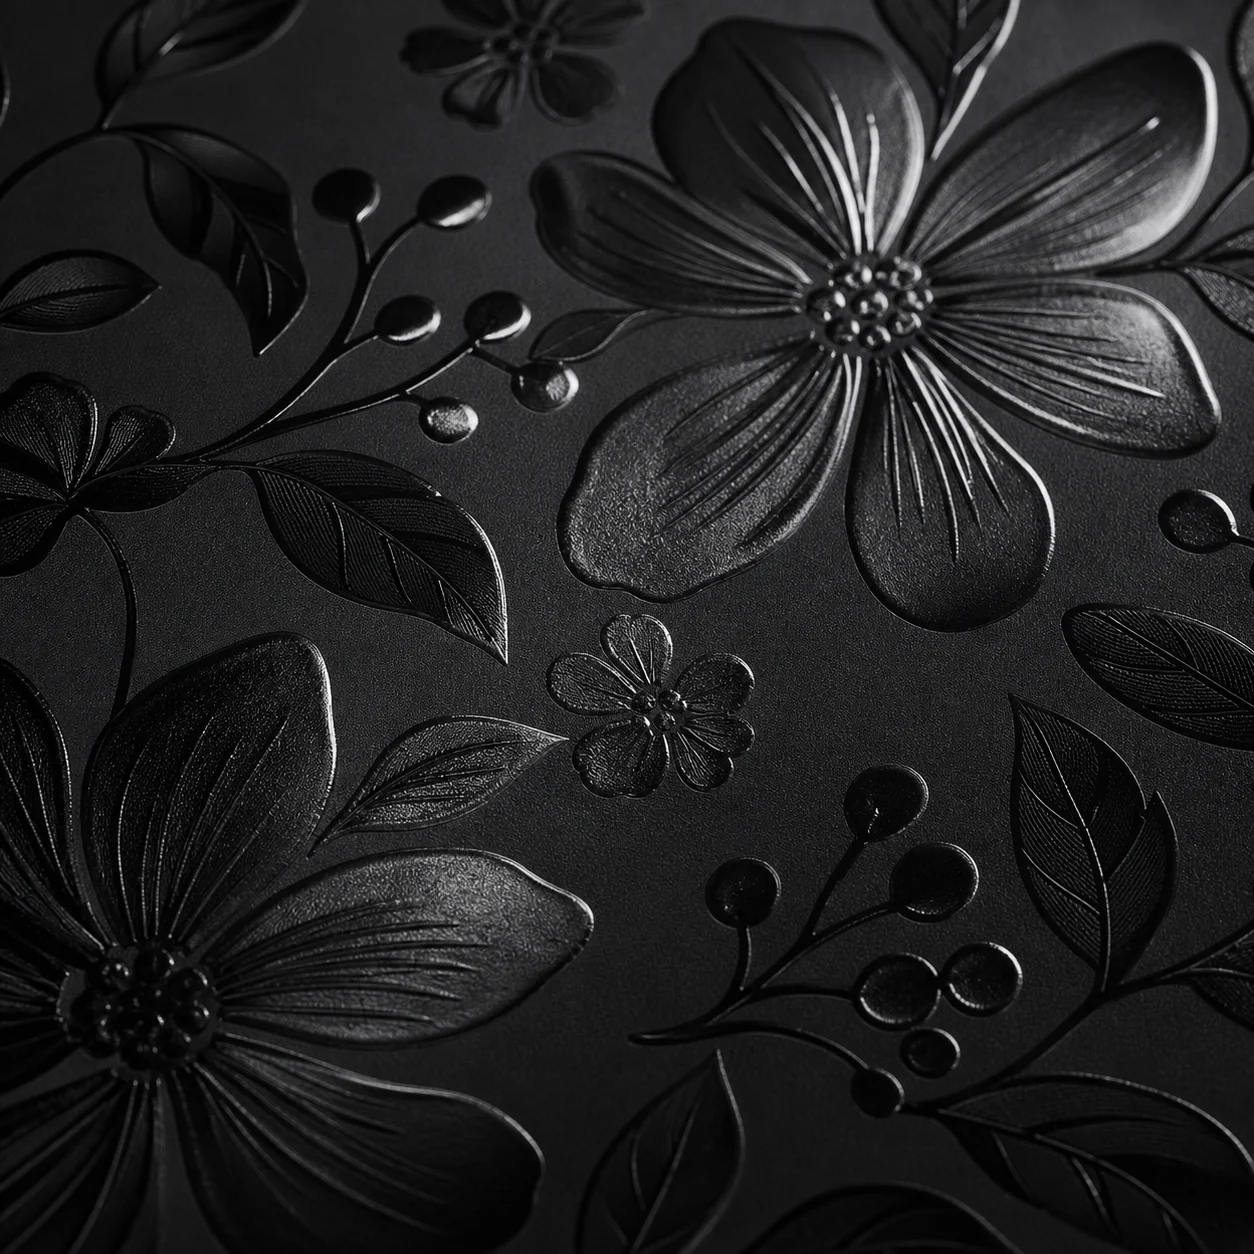 Spot Gloss
A digital mockup confirms layout direction, not the final printed color or surface effect. Record the substrate, white-ink treatment, color reference, finish and proof type being approved. Printing and finish availability depends on the selected material structure and production route. Compare proof and sample purposes.
05 Pouch Brief
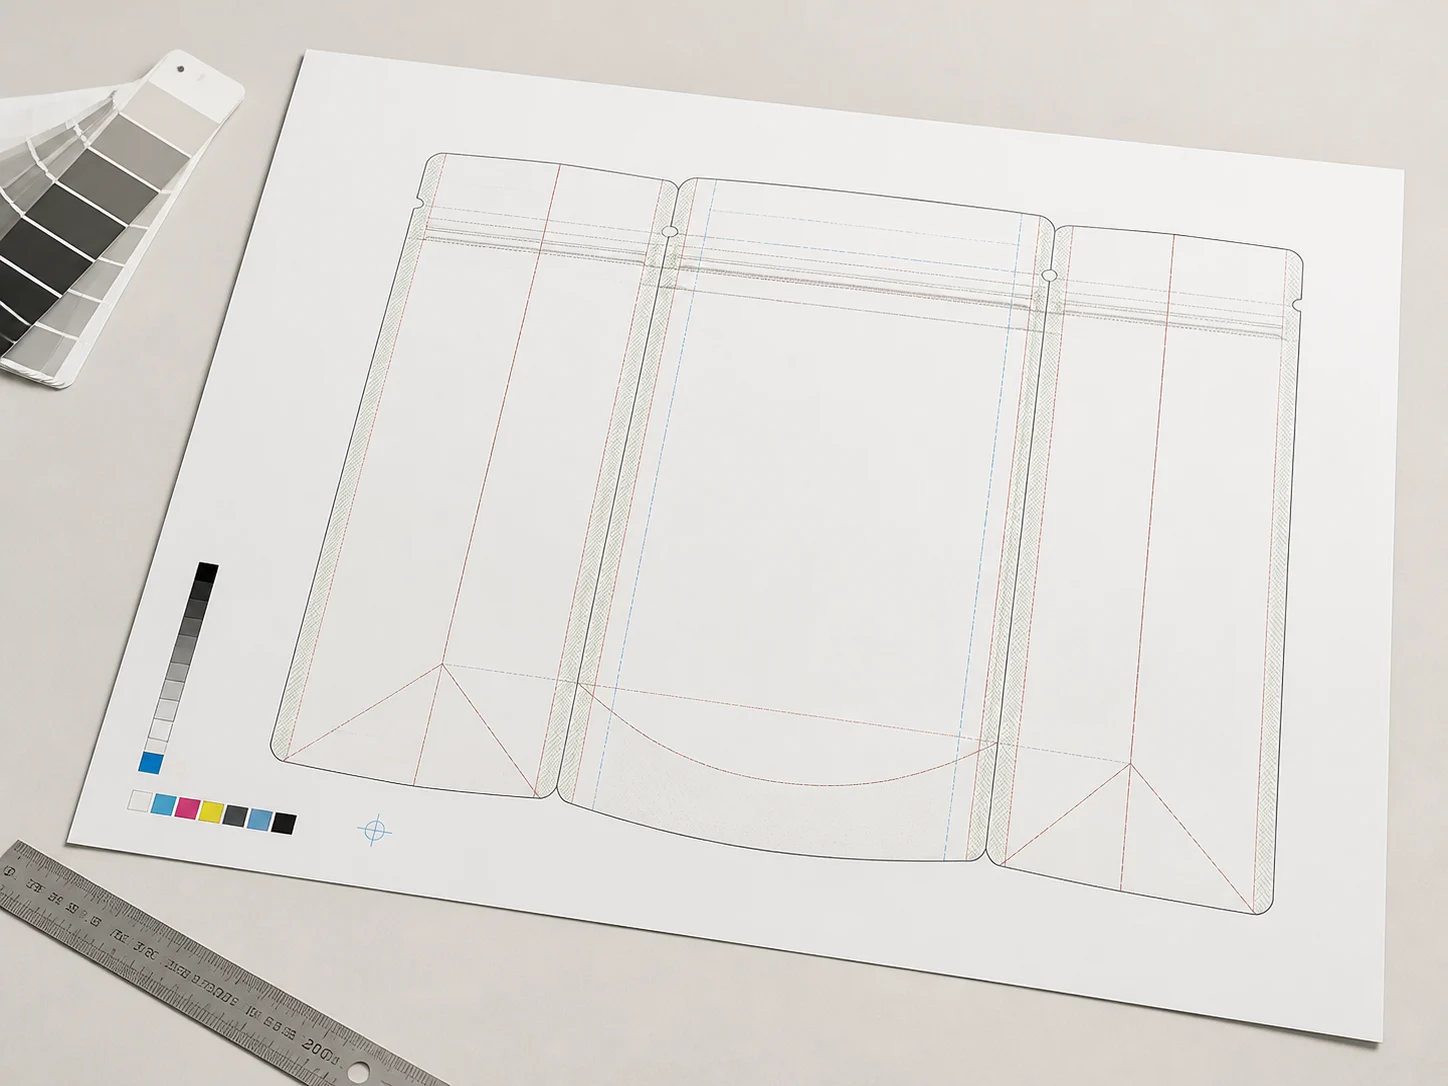 Technical DielineFront print area, zipper clearance and seal zonesView Full Dieline
 Our process