01
Measure the actual snack
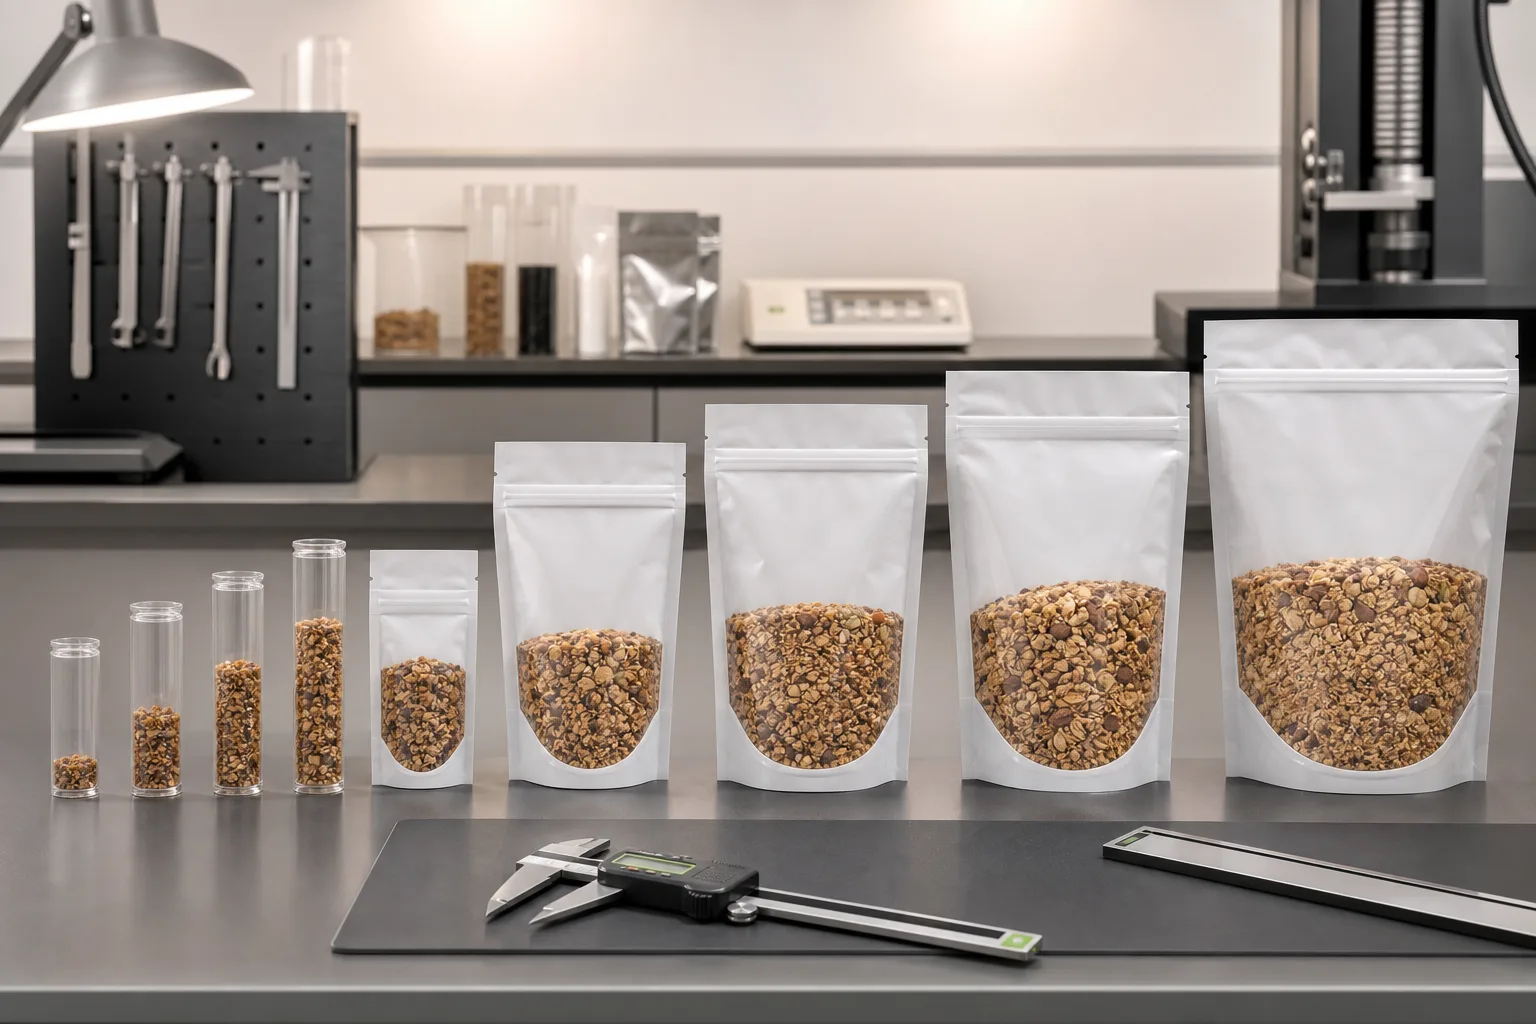
Use multiple representative portions at target weight and record loose fill, settled volume, breakage and variation. Measure the product in the condition it will have at filling, using more than one representative portion. Record target weight, loose volume, settled volume, piece size and any breakage caused by handling. Bulk density can help compare candidates, but it should be calculated from the measured product and method, not borrowed from another snack. Note whether the packer fills by weight or volume and whether the product settles before the permanent top seal is made.
02
Translate volume into usable geometry
A pouch has seal, zipper and gusset areas that are not fully usable product volume. Translate the measurement into a physical pouch trial: choose candidate widths, heights and full bottom-gusset depths, then mark usable opening and the space reserved above the fill line. A flat capacity figure does not show how the pouch will stand or where a zipper will sit. Photograph filled candidates from the front and side after normal settling. Compare access, stable base, artwork visibility and carton footprint before selecting one dimension set for converter review.
03
Add process headspace
The correct clearance depends on filling equipment, product fall, gas route, seal contamination control and consumer use.
04
Validate outside the pouch
Check standing, shelf facing, ecommerce parcel, carton count and handling—not only whether the product fits.
Buyer decision example
Build a chart from your actual snack
Measure several representative portions at the intended fill weight using the same container and filling procedure. Record loose volume, settled volume and the product condition. A chart for whole nuts cannot be transferred to popcorn simply because both labels state the same net weight. Large pieces also need an opening that allows filling without forcing or breaking them.
For each candidate pouch, record flat width, height and the stated bottom-gusset convention alongside the filled standing footprint. Add observations for top-seal clearance, zipper access and carton fit. Compare candidates using the same product batch and process. Keep the accepted filled sample linked to the drawing revision; the measurement worksheet helps shortlist sizes but does not replace the approval sample.
Treat the chart as a record of measured candidates, not a universal weight-to-size conversion. Write down the product condition, portion weight, loose and settled volume, method of filling and number of samples used. A fragile or irregular snack can occupy different space after handling, while a powder or small piece may settle below the artwork window. Photograph each candidate front, side and standing base under the same fill condition, then note where the visible fill line actually lands.
The final size review should include production clearance as well as shelf appearance. Check that product can enter the opening without damage, that no pieces reach the intended permanent seal, and that a zipper remains accessible after filling. Place the filled packs in the planned carton orientation and observe case fit and panel deformation. Record the chosen width, height, full bottom-gusset depth and usable top area with the sample ID. If the product or closure changes, repeat the measurements instead of reusing the old size chart.
Do not use a single filled photograph as the whole sizing result. Repeat the fill with the product variation the packer expects, then compare how the pouch stands before and after settling. Mark the height occupied by the product, the space reserved for a zipper and the margin required for the permanent seal. A candidate that looks full in a hand-filled display sample may be difficult to fill consistently on the intended equipment.
When a size is selected, send the converter a controlled dimension sheet and the representative filled sample. Ask the packer to confirm the opening and sealing sequence and the channel owner to confirm shelf and carton needs. If those reviews disagree, document the trade-off and run another filled sample. The chart remains a shortlist tool; the accepted sample and dimension convention become the basis of the production request.
Illustrative review workflow; this is not a reported customer project or test result.
Decision table
Use one normalized record for comparison.
| Snack type | Reference input to measure | Size decision risk | Validation required |
|---|---|---|---|
| Chips/popcorn | Low bulk density and high breakage sensitivity | Oversized pack or crushing | Fill, headspace and case trial |
| Nuts/trail mix | Dense fill and irregular edges | Puncture and gusset load | Filled handling and seal review |
| Dried fruit | Variable stickiness, density and shape | Settling and seal contamination | Fill/closure trial |
| Freeze-dried snacks | Very low density and fragility | Moisture and crushing | Humidity-aware pack/case trial |
| Granola | Clusters, fines and mixed inclusions | Variable density and zipper contamination | Multiple batch measurements |
Buyer questions
Direct answers with project boundaries.
Can a chart give the final pouch size?
No. It supplies a starting method. Final size requires the actual product, filling route and filled-pouch approval.
Why do two snacks at 100 g need different pouches?
Bulk density, piece geometry, settling, breakage and headspace differ.
Should I add extra headspace for safety?
Only the functional clearance supported by filling, fragility and handling trials; excess space can hurt display and case use.
What dimensions go in an RFQ?
Record flat finished width, height and bottom gusset convention, tolerances, zipper/top-seal locations and the approved filled reference.