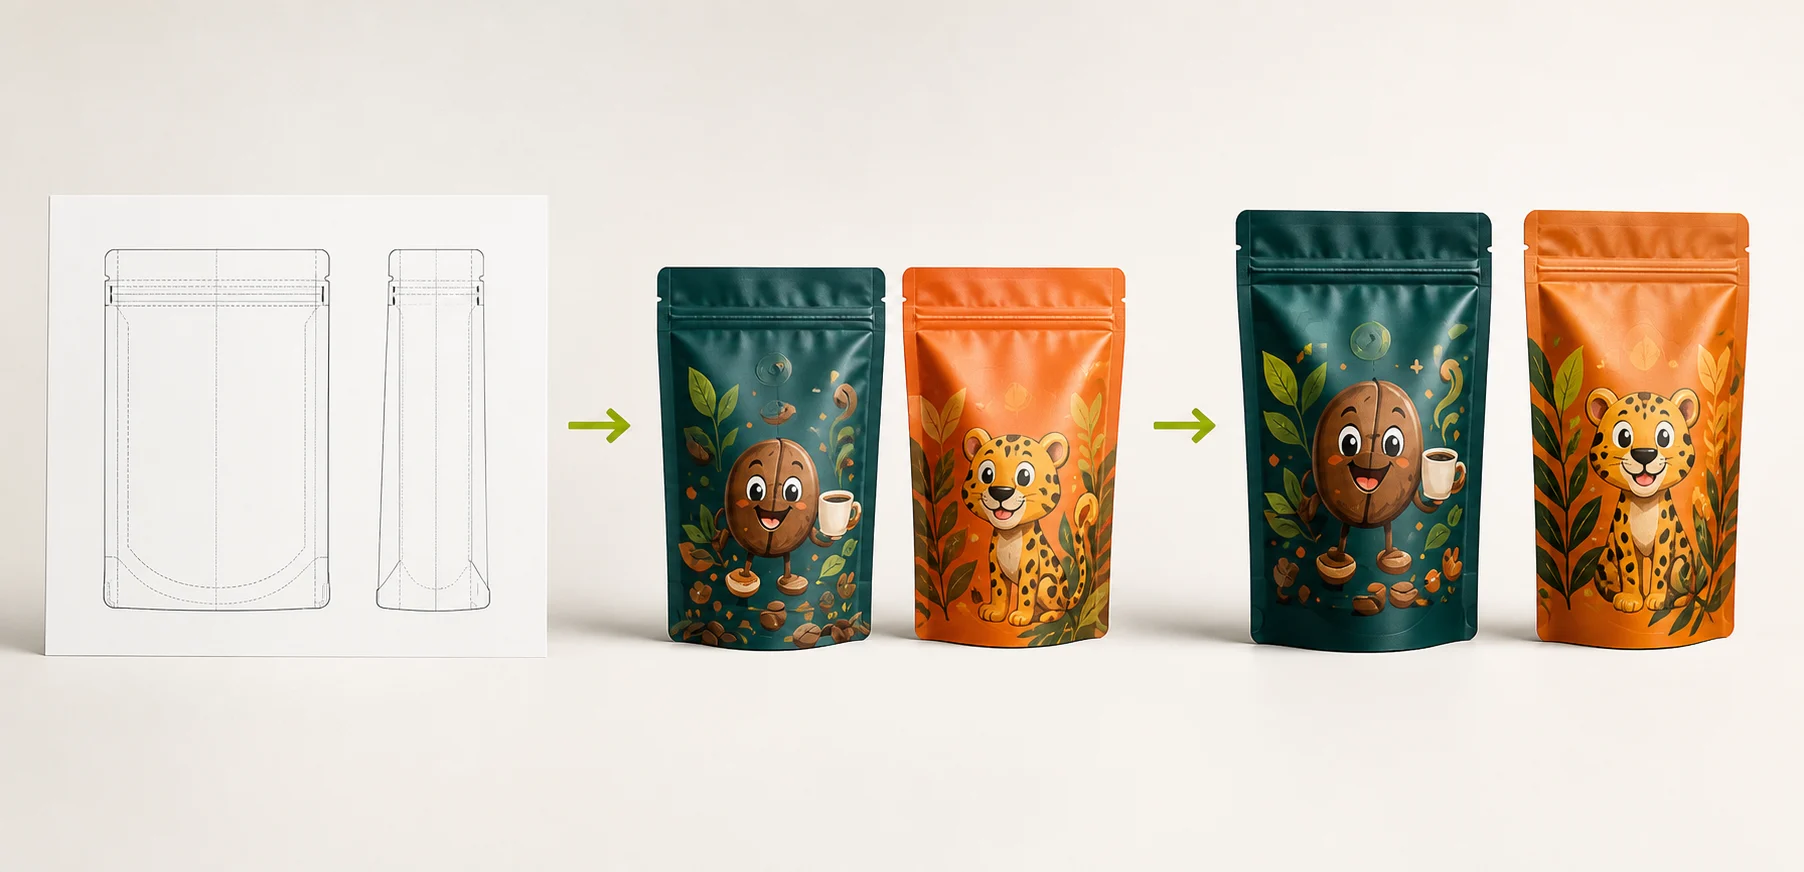
01
How do I prepare artwork for a custom pouch dieline?
Obtain the converter-issued dieline for the exact pouch size and construction, place artwork without redrawing or rescaling that file, extend backgrounds to its defined bleed, and keep critical text, logos and required marks inside its safe zone. Confirm folds, seals, zipper and features in the artwork proof before releasing the named file revision.
A generic template can help estimate layout, but it cannot approve production artwork. Dimensions, bottom construction, converting tolerances and feature positions belong to the project drawing supplied or accepted by the converter.
- Exact pouch format, dimensions and drawing revision
- Unchanged technical layers and scale
- Feature positions and tolerances
- Named artwork proof and approval decision
02
Read panels, folds and seals as different zones
The front, back and bottom panels become different visible surfaces after forming. Bottom-gusset artwork can rotate, disappear into a fold or become visible only when the pouch stands, so review it in the formed orientation rather than as a flat rectangle.
Side, bottom and top seals are converting zones, not guaranteed display areas. Keep critical content away from the exact seal and fold boundaries shown on the approved drawing, and record whether registration is evaluated panel-to-panel or against a physical feature.
- Front and back viewing orientation
- Bottom-gusset fold and formed orientation
- Seal and fold locations
- Panel-to-panel and feature registration references
03
Separate bleed, trim and safe content
Bleed is the artwork extension used to avoid an unintended unprinted edge when print or converting registration varies. A safe area is the project-defined region for content that must remain readable and visually controlled. Neither should be guessed from another pouch.
Continue background color and imagery through the defined bleed. Keep legal copy, logos, small type and other critical elements inside the defined safe areas, then inspect where folds, seals, corners and strong curvature can change appearance on the formed pouch.
- Backgrounds continue through project bleed
- Critical copy remains inside safe areas
- Small type and required marks stay legible
- Formed-pouch appearance is reviewed separately
04
Protect zipper, top seal and opening features
The zipper body, tear notch and final top seal share limited space near the opening. Record each feature reference and clearance on the approved dieline so artwork does not obscure the notch, cross a closure unexpectedly or occupy an area needed for filling and final sealing.
Windows, valves and hang holes also need controlled geometry. Confirm their size, reference points, side of pouch and relationship to artwork; a visual mockup alone is not a manufacturing coordinate record.
- Zipper and top-seal reference lines
- Tear-notch position and access
- Window, valve and hang-hole coordinates
- Filling and final-seal clearance
05
Place and verify the barcode after forming
Choose the barcode symbology and data with the responsible item-identification owner, then allocate a flat, accessible area with the required quiet zones and contrast. GS1 guidance warns against placing a barcode or its quiet zones on seams, folds, edges, die-cuts, overlaps, rough textures or other scanning obstacles.
Artwork review is not barcode verification. Check the encoded data, symbol construction and placement, then verify the printed and formed pack using the applicable GS1 specification and an agreed verification process. Record the result against the exact artwork and sample revision.
- Approved symbology and encoded data
- Place barcodes on a practical scan area
- No fold, seal, edge or feature interference
- Printed-pack verification record
06
Run a controlled artwork preflight and approval
Before release, check document scale, technical layers, linked images, fonts, color definitions, transparency and overprint settings against the agreed print workflow. Review every design or SKU; changing only a flavor name can still affect copy, barcode, legal marks and proof identity.
The approval record should connect pouch drawing, artwork file, proof and decision. If any of those change, issue a new revision and identify what must be checked again instead of overwriting the approved reference.
- Document scale and dieline integrity
- Links, fonts, colors and overprint review
- SKU, barcode and required-copy check
- File name, revision, approver and date
Field map
Record the handoff from pouch drawing to approved artwork.
These fields form an artwork-control record, not universal bleed, safe-zone or barcode dimensions. Enter the values from the converter-issued dieline, the applicable symbol specification and the approved print workflow.
| Control field | What to record | Risk controlled | Approval evidence |
|---|---|---|---|
| Pouch construction | Format, width, height, gusset construction and orientation | Prevents artwork from being transferred to a different pouch geometry | Accepted project specification |
| Dieline identity | Drawing number, revision, issue date and source | Keeps production tied to the correct technical file | Converter-issued or converter-accepted drawing |
| Scale and units | Document scale, dimensions and working units | Detects accidental rescaling or unit conversion | Preflight comparison with approved drawing |
| Panel map | Front, back, bottom and any repeat or seam orientation | Controls visible reading direction after pouch forming | Flat proof plus formed-pouch review |
| Bleed definition | Project bleed boundary and background extension | Reduces unintended unprinted edges from registration variation | Artwork proof with technical layer visible |
| Safe-content definition | Safe boundary and critical elements kept within it | Protects required copy and brand elements from trim, seal or fold variation | Content-clearance review |
| Seal and fold zones | Top, side and bottom seals plus all fold references | Prevents critical artwork from occupying converting zones | Dieline overlay and formed sample |
| Zipper and tear notch | Feature references, side, access and artwork clearance | Protects opening use and final top-seal space | Feature drawing and physical sample |
| Other features | Window, valve or hang-hole size, coordinates and side | Aligns functional components with artwork and pouch construction | Controlled feature drawing and registration review |
| Barcode data | Symbology, encoded value, human-readable data and item owner | Prevents the wrong item identity from reaching print | Approved data record and decoded proof |
| Barcode placement | Orientation, quiet zones, contrast and distance from folds, seals and edges | Protects scanner access on the formed package | Applicable GS1 check and printed-pack verification |
| Print assets | Color definitions, linked-image status, fonts, transparency and overprint decisions | Reduces output differences between design file and print workflow | Completed preflight report |
| SKU and required copy | Design identifier, language, claims, legal copy and required marks | Prevents cross-SKU text or regulatory-content errors | Responsible-owner approval |
| Release record | Artwork filename, proof ID, dieline revision, decision, approver and date | Creates traceability and change control | Signed or recorded approval linked to retained files |
Method references
Verify the controlled method before testing.
GS1 ties quiet zones, contrast and symbol placement to the applicable barcode specification and warns against folds, seams, edges and other obstacles. It does not provide a universal StandPouchy artwork clearance. Confirm the symbol type, market, printing process and final formed-pack verification before approval.